Terrain Hazards on California Hiking Trails: How to Stay Safe
Most hiking injuries in California don’t happen on the trails that look dangerous; they happen on the ones that look easy right up until a loose rock, an unmarked washout, or a ridge that’s narrower than the photos suggested. Terrain hazards are rarely about difficulty rating; they’re about specific ground conditions a rating can’t fully capture. Here’s what actually causes trouble on California trails, and the technique that gets you past each one safely.
Disclosure: Please note that some of the links below are affiliate links and at no additional cost to you, I may earn a commission. Know that I only recommend hiking gear I personally stand behind; when you use my affiliate links, it helps me run this blog and keep all of this content free of charge for readers (like you).
Key takeaways
- California’s terrain deceives more than it warns: photogenic granite and desert trails often hide loose rock, sudden exposure, and unstable edges that a difficulty rating doesn’t fully capture.
- Ankle sprains and fall-related injuries are the most common trail injuries, not the dramatic falls people picture; most start with a single bad foot placement on uneven ground.
- Scree and talus need a different walking technique than a normal trail: shorter steps, deliberate foot placement, and a test-step before committing your weight.
- “Exposure” means the consequence of a fall, not steepness. A moderately steep trail with a long drop is more dangerous than a steep trail that’s safe to fall on.
- California’s fire-scarred slopes are especially hazardous after rain, since burned soil can repel water for years and dramatically increase debris-flow risk.
- Cairns aren’t always official trail markers; unofficial ones built by other hikers can send you the wrong way, which is why Leave No Trace discourages building new ones.
Why California’s terrain is more hazardous than it looks
A trail’s difficulty rating is built mostly from distance and elevation gain; it says very little about scree, exposure, or what a trail does after a storm. California is worse than most states here because its scenery photographs beautifully right up to the edge of the hazard.
The most common terrain injuries on California hiking trails
Ankle sprains and lower-leg strains from uneven footing are the most common trail injuries by a wide margin, followed by fall-related lacerations and, less often, head injuries on exposed or technical terrain. Search and rescue data consistently shows the same pattern: most incidents start small, on ordinary-looking ground, not on the technical section a hiker was already being careful on. Fatigue late in a hike compounds the risk further, since tired legs make the same uneven step far more likely to end in a rolled ankle than it would have an hour earlier. Maintaining balance and physical conditioning is your first defense.
Loose rock and scree: how to navigate California’s mountain terrain
Sierra Nevada trails carry more loose rock than most hikers expect, and the standard walking gait that works everywhere else stops working the moment the ground shifts under you.
How to walk safely on scree and loose rock in the Sierra Nevada
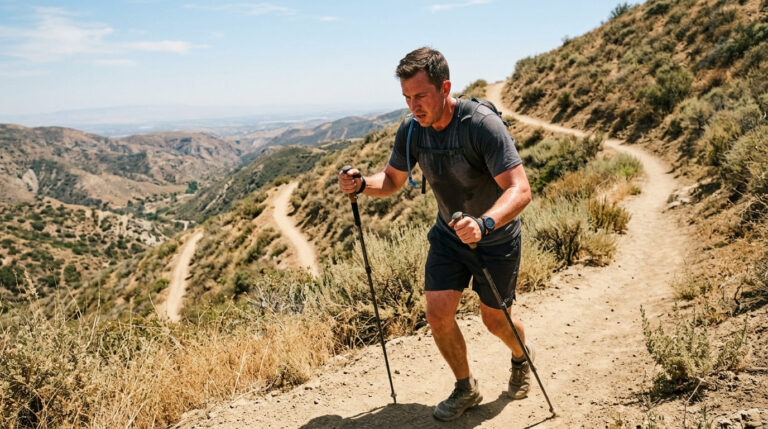
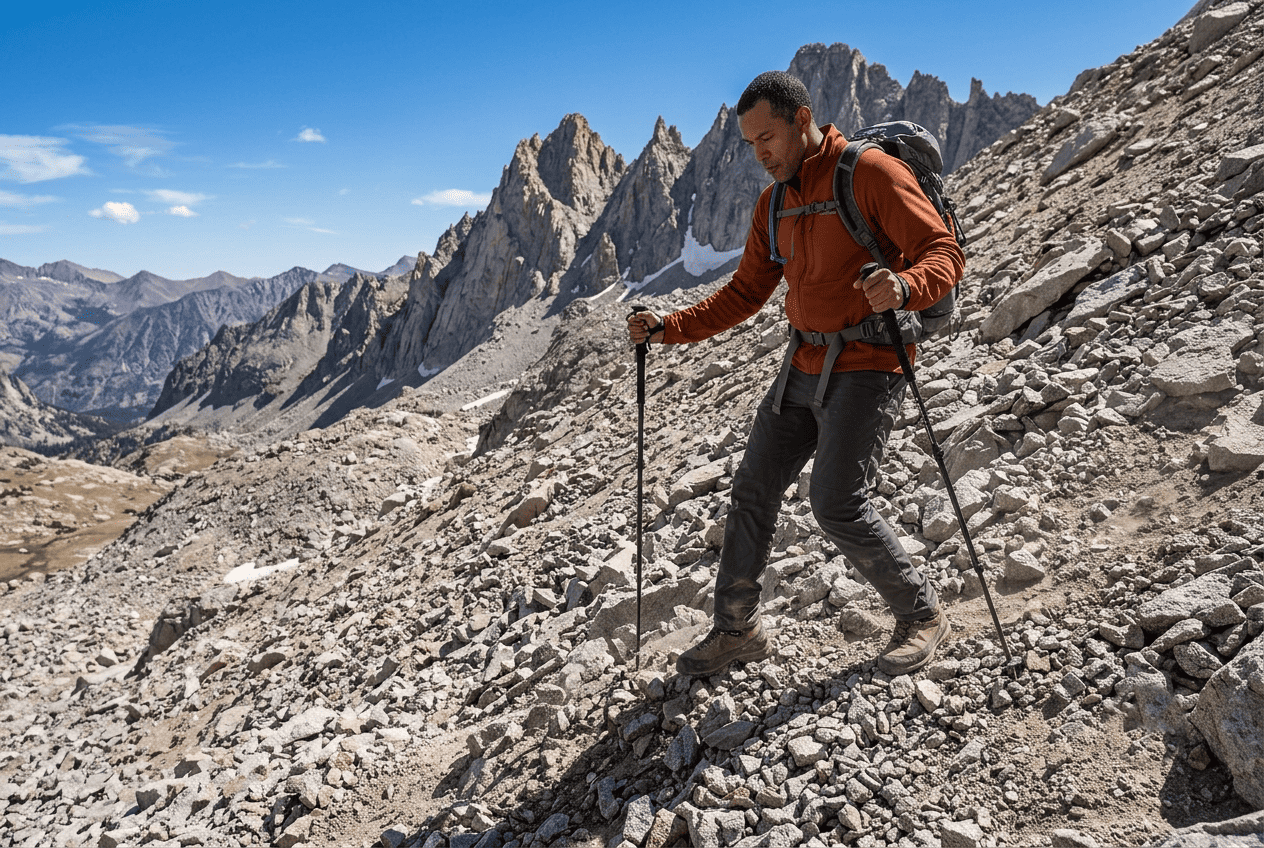
Shorten your stride, place your foot flat rather than on the heel, and test each step’s stability before shifting your full weight onto it. Trekking poles genuinely help here; they give you two extra points of contact and a way to catch a slip before it becomes a fall. Move deliberately rather than quickly; scree punishes speed more than it punishes caution. On steep scree, angling your steps slightly sideways rather than straight up or down often gives better traction than a direct line does.
Talus fields on California trails: what they are and how to cross them
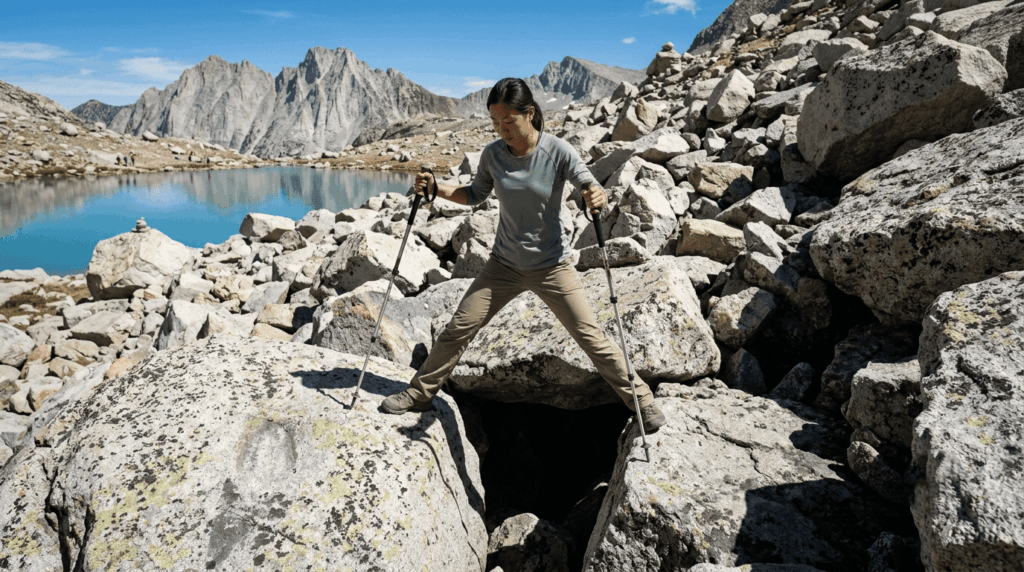
Talus is a larger, more stable-looking rock than scree, but the ankle-roll risk is actually higher, since gaps between boulders can catch a foot at an angle. Cross talus by stepping on the most stable-looking rocks, usually the larger, more embedded ones and use official cairns to stay on the established route rather than picking your own line through the field. Sturdy, ankle-supporting hiking boots matters more here than almost anywhere else on a California trail.
Steep drop-offs and exposed ridgelines: managing exposure on California trails
Exposure is the terrain hazard hikers most consistently underestimate, mostly because it’s invisible in a trail’s stated difficulty rating.
What is trail exposure and how do you know if a trail is exposed?
Exposure means the consequence of a fall, not the steepness of the trail itself. A gentle slope above a cliff edge is more exposed than a steep slope with a safe runout. The Yosemite Decimal System, commonly used to describe technical terrain, treats Class 3 and above as scrambling where exposure becomes a real factor, with Class 4 specifically flagging terrain where a fall could be fatal. Most day hikers never go beyond Class 2, which makes it worth knowing which classification a trail actually falls into before assuming a “hike” won’t involve real exposure.
Safety techniques for exposed ridgeline and cliff-edge trails in California
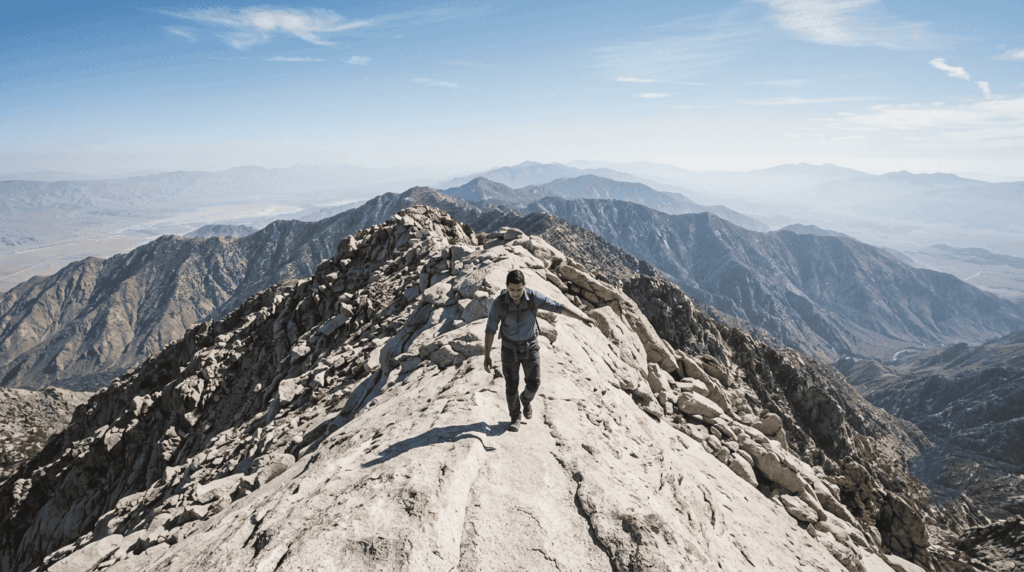
Keep three points of contact on any section where you’re using your hands, one of the most fundamental safety techniques, and never reach for a hold you haven’t visually confirmed is solid. If you freeze up on exposed terrain, stop, breathe, and look at your feet and the next hold rather than the drop, and don’t be afraid to turn around. Trails like Half Dome’s cables and sections of the San Jacinto skyline are exposed enough that turning around is a legitimate, common outcome, not a failure. Wet rock changes the calculation entirely; exposure that’s manageable dry can become genuinely dangerous within minutes of rain, so check the forecast before committing to anything with real drop-off.
Trail erosion, washouts, and unstable ground after rain in California
Rain changes California trails faster than most hikers expect, and a trail that was solid last week can be genuinely unsafe after one storm.
How to identify a washed-out or unstable trail before committing to it
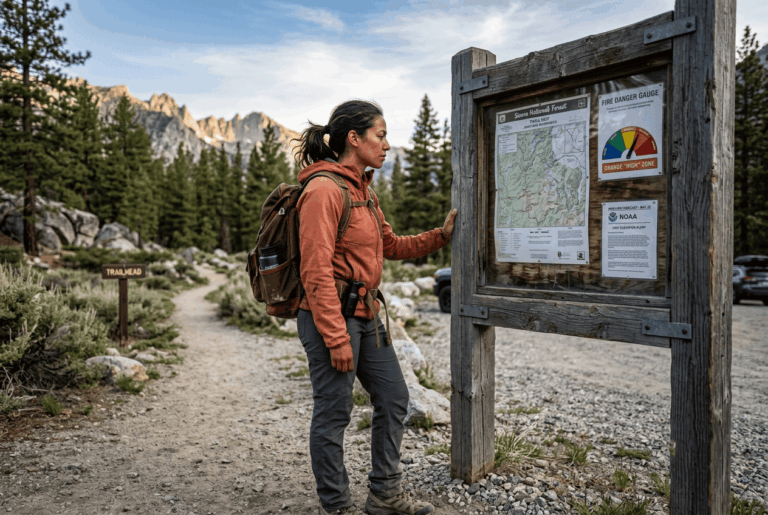
Watch for undercut edges (ground that looks solid but has been eroded from underneath), fresh mud with no footprints yet, and any crossing where the water looks faster or deeper than the trail description suggests. Check the managing agency’s current conditions or closure page before you go; post-storm damage often isn’t reflected in trail apps for days or weeks, since crowd-sourced reviews only catch up once enough hikers have actually been out there and reported back.
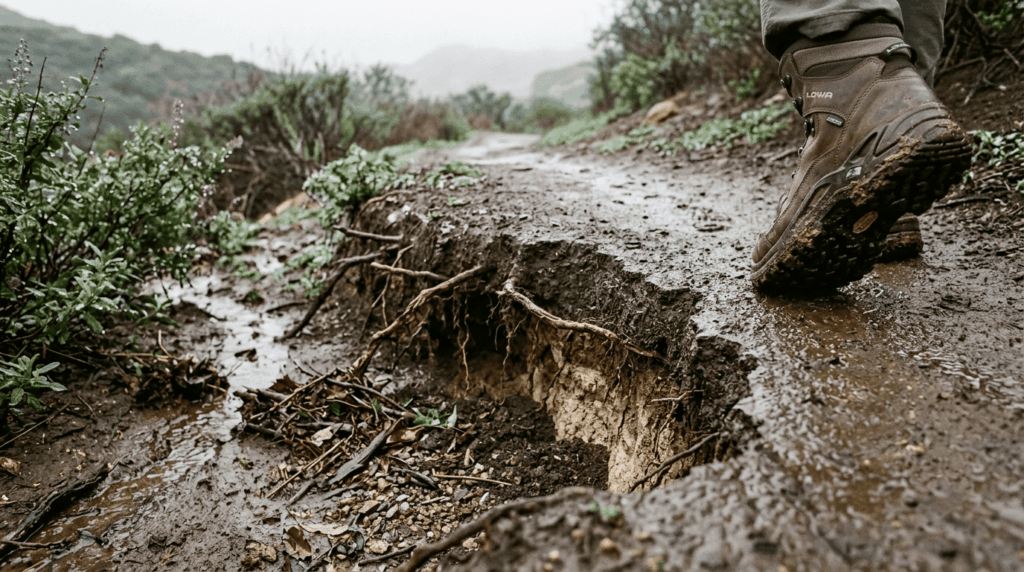
Why California’s fire-scarred slopes are especially dangerous after rain
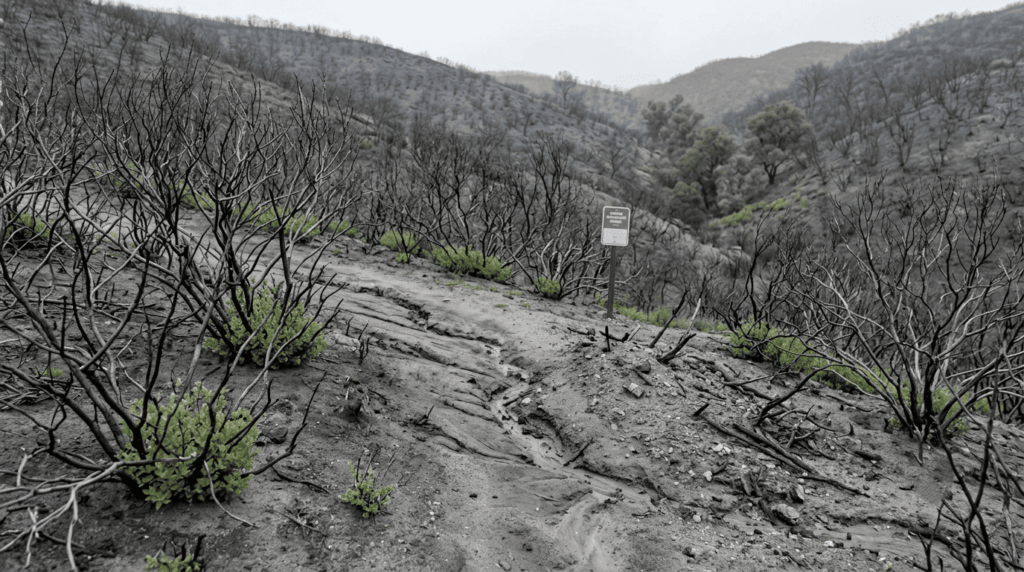
Burned vegetation leaves behind a hydrophobic soil layer that repels water instead of absorbing it, which can persist for years after a fire and dramatically increases runoff and debris-flow risk during heavy rain. The January 2018 Montecito debris flow, triggered by intense rainfall on slopes recently burned by the Thomas Fire, is the case study California hazard planners still reference; it’s the clearest illustration of why a recently burned trail deserves extra caution during and after storms, not just on the day of a fire. If you’re planning a hike anywhere near a burn scar from the past few years, check for active debris-flow warnings alongside the usual weather forecast.
Rock fall and rolling rocks: overhead terrain hazards in California canyons
Canyon trails add a hazard that doesn’t exist on open ridgelines: terrain above you that can move on its own.
How to identify rockfall risk zones on California canyon trails
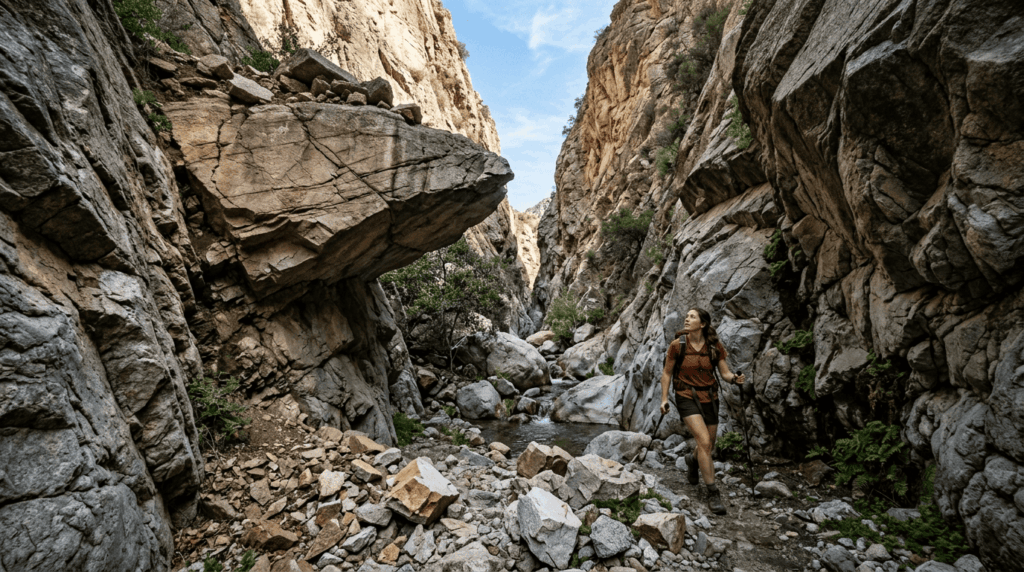
Look for overhanging rock formations, fresh rock debris on the trail (a sign of recent activity), and canyon narrows where you can’t easily move away from the rock face. Freeze-thaw cycles in the Sierra loosen rock seasonally, so rockfall risk is highest in spring as ice that’s been holding rock in place starts to melt. In known rockfall zones, avoid stopping directly beneath overhangs, and move through quickly rather than lingering for photos. A helmet is worth considering in named rockfall zones or narrow canyon sections, even though most California day hikes never call for one.
What do stacked rocks mean on California trails? Cairns explained
Cairns look like a simple navigation aid, but they carry more nuance than most hikers realize.
Are cairns helpful or harmful on California trails?
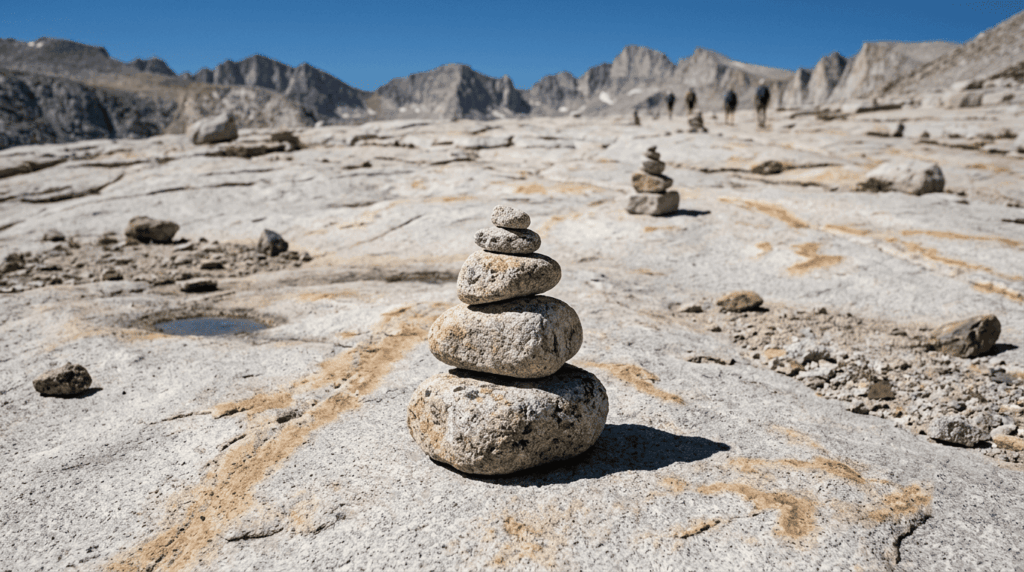
Official, agency-placed cairns mark routes across open granite or slickrock where no visible trail exists, and following them is the right call. The problem is unofficial cairns, built by other hikers, sometimes for fun, sometimes to mark a route that isn’t the real trail, which is exactly why Leave No Trace discourages building new ones. If a cairn leads somewhere that doesn’t match your map or the terrain around it, trust your navigation over the rock stack. When in doubt, a downloaded offline map is a more reliable guide than any pile of rocks, official or otherwise.
None of these hazards requires avoiding California’s best trails; they require reading the specific terrain in front of you instead of trusting the difficulty rating alone. Scree, exposure, erosion, and rockfall each have a real technique that makes them manageable, and knowing which one applies before you’re standing on it is most of the battle.
Frequently asked questions about terrain hazards on California trails
What are the stacked rocks on hiking trails called?
They’re called cairns. Official ones, placed by the managing agency, mark a route across terrain with no visible trail; unofficial ones built by other hikers aren’t always reliable.
Why do people stack rocks on hiking trails?
Mostly for navigation across open rock or above-treeline terrain where a worn path isn’t visible, though some hikers build them casually without any navigational purpose, which is part of why Leave No Trace discourages adding new ones.
How do I hike safely on steep terrain in California?
Slow your pace, keep three points of contact on any section requiring your hands, and use trekking poles for extra stability. If a section feels beyond your comfort level, turning around is always a valid choice.
What should I do if I slip or fall on a trail?
Stop and assess before moving. Check for pain, swelling, or restricted movement before continuing. For anything beyond a minor scrape, use a basic first-aid kit (see our full hiking safety guide) and consider whether continuing is realistic versus turning back.
Is it safe to hike in California after heavy rain?
Often, but check trail-specific conditions first, especially on anything near a recently burned slope, since post-fire terrain carries debris-flow risk that ordinary trails don’t. When in doubt, choose a trail with no recent burn history and good drainage.
What footwear is best for rocky and uneven terrain in California?
A stiffer boot with ankle support and a grippy outsole handles scree, talus, and uneven terrain better than a flexible trail runner, which is built more for smooth dirt than loose rock.