How Trail Difficulty Is Actually Calculated And Why Two 8-Mile Trails Can Feel Nothing Alike
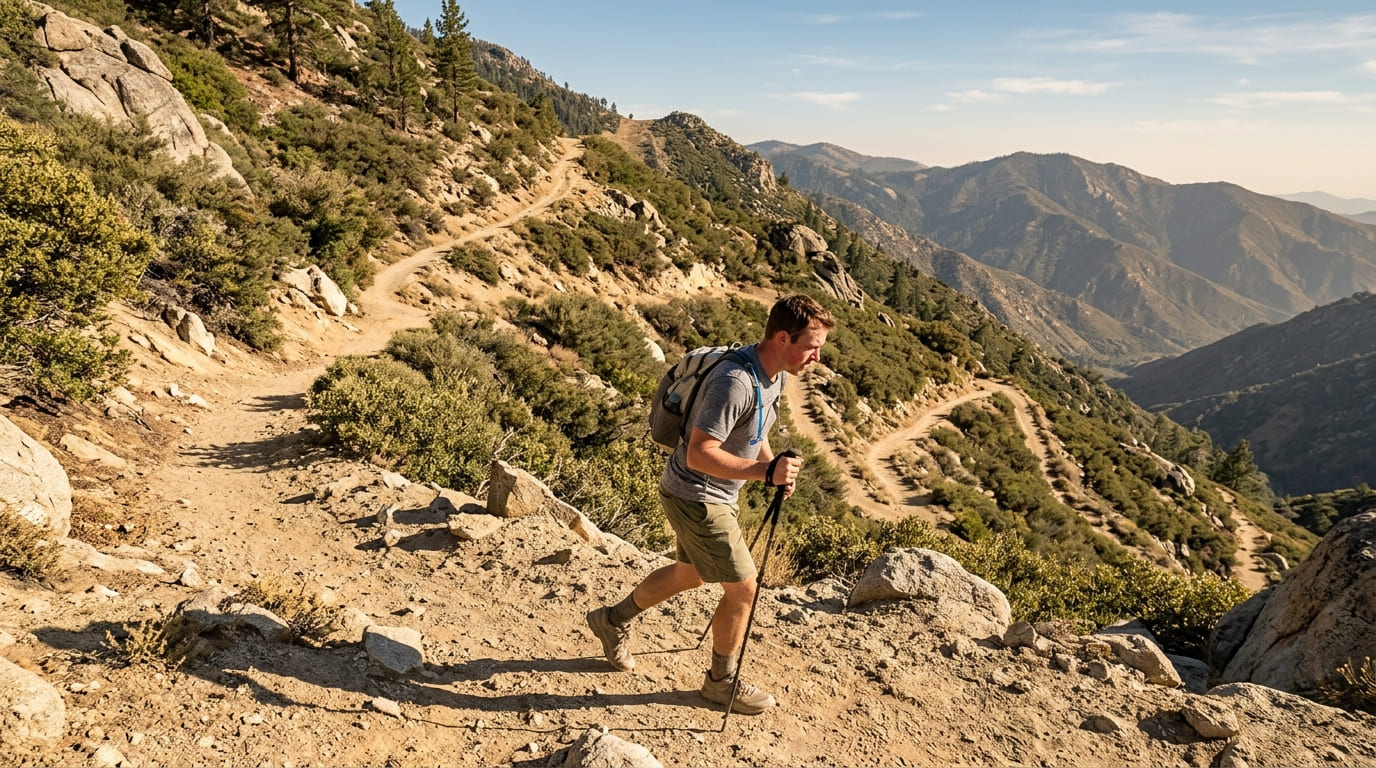
Trail difficulty isn’t a vibe some ranger assigned after a nice walk. It’s usually math. Most rating systems- AllTrails, the NPS, the guidebook on your shelf- start with the same two numbers: total distance and cumulative elevation gain, then run them through some version of a formula that’s been around since 1892. Once you know how trail difficulty is calculated, you can estimate the real hiking trail difficulty of almost any California trail before you ever open an app, including ones nobody’s gotten around to rating yet.
Disclosure: Please note that some of the links below are affiliate links and at no additional cost to you, I may earn a commission. Know that I only recommend hiking gear I personally stand behind; when you use my affiliate links, it helps me run this blog and keep all of this content free of charge for readers (like you).
I’ve spent the last several years cataloging trail data across this state, every county, every difficulty tier, enough spreadsheets to make my eyes cross, and the question I get asked more than almost any other is some version of “why does this 8-mile trail feel so much harder than that other 8-mile trail?” The answer is almost never mysterious.
It’s elevation gain, terrain, and altitude, stacking on top of raw distance in ways the mileage number alone never shows you.
Key takeaways before we get into the math:
- Elevation gain usually beats distance for predicting difficulty. A short, steep trail can absolutely out-suffer a longer, flatter one.
- There’s a real formula behind most ratings, not just a feeling. Guidebooks and park services have been quantifying this since the 1890s.
- Terrain type can double the “real” difficulty of a hike that looks moderate on paper.
- Altitude changes the math above roughly 8,000 feet, even when the elevation gain number stays identical.
- You can build your own rough difficulty estimate in under a minute, using nothing but a trail’s mileage and gain.
The core factors behind every difficulty rating: distance and elevation gain
Every difficulty system I’ve ever used, from a laminated trailhead sign to the algorithm behind AllTrails, starts in the same place: how far you’re walking and how much you’re climbing.
Distance alone tells you almost nothing. I’ve done 3-mile hikes that wrecked me and 12-mile hikes I barely noticed, and the difference was never the mileage; it was what that mileage was doing vertically.
If you want the rating tiers themselves spelled out, our full breakdown of what Easy, Moderate, and Strenuous actually mean covers that ground. This guide is about what’s happening underneath those labels.
Why elevation gain matters more than distance alone
Here’s a comparison I use constantly when I’m training new trail researchers: take the Culver City Stairs route up to Baldwin Hills Scenic Overlook in Los Angeles County, covered in our hidden-gem trail guide for Los Angeles County.
It’s barely a trail at all: 282 concrete steps gaining roughly 300 feet in about two-tenths of a mile. Your lungs will absolutely know it happened.
Now stack that against the Woodward Park Loop in Fresno, from our family-friendly Fresno County guide: 2.8 miles with about 95 feet of total elevation gain. Nearly four times the distance, a third of the vertical, and it feels almost flat by comparison.
That’s the whole lesson in two trails. My rule of thumb: once a trail’s elevation gain rate climbs past roughly 500 feet per mile, I mentally bump it up a difficulty tier regardless of what the total mileage says. Below 500 feet per mile, distance starts driving the conversation more than elevation does.

Common formulas (the “half mile rule” and similar shortcuts)
The oldest formula still in wide use came from a Scottish mountaineer named William Naismith, who published it in 1892: allow one hour for every three miles of distance, plus one additional hour for every 2,000 feet of elevation gain.
It was built to estimate hiking time, not difficulty directly, but the ratio buried inside it- that roughly 2,000 feet of climbing costs about the same effort as 3 miles of flat walking- is the seed almost every later difficulty formula grew from.
American guidebooks, including the AMC’s, simplified that further into a rule of thumb: treat 1,000 feet of elevation gain as roughly equal to one extra mile of flat distance.
You’ll often hear this cut into smaller, easier-to-eyeball pieces at the trailhead, what some hikers call the half-mile rule: for every 500 feet you climb, mentally tack on a half mile of “effort distance.” It’s the same math, just sliced thinner.
If you want a formula built specifically as a single difficulty number rather than a time estimate, two are worth knowing. NOLS founder Paul Petzoldt built “Energy Miles” in 1976: your distance, plus your elevation gain divided by 500.
The National Park Service uses something similar at Shenandoah: the square root of your elevation gain times two, times your distance, to sort hikes into five official bands from Easiest to Very Strenuous.
| Formula | The quick math | Best for |
|---|---|---|
| Naismith’s Rule (1892) | 1 hour per 3 miles + 1 hour per 2,000 ft of gain | Estimating hiking time |
| The “half-mile rule” (AMC-style) | Add a half mile of effort per 500 ft of gain | Fast mental math at the trailhead |
| Petzoldt’s Energy Miles (NOLS, 1976) | Distance + (elevation gain ÷ 500) | A single number to compare hikes |
| NPS Shenandoah formula | √(elevation gain × 2 × distance) | An official numerical difficulty rating |
None of these are perfect, and none of them agree exactly with each other, which is honestly the most useful thing to understand about them. They’re all approximations built around “reasonable fitness on typical terrain,” and every one of them starts to break down the moment terrain stops being typical.
Worth separating two different questions here, because I see people conflate them constantly: this section is about the physics, the raw formulas above.
If what you actually want is how AllTrails’ difficulty label stacks up against the NPS’s, that’s a platform question, not a physics one, and our guide comparing AllTrails’ and the NPS’s rating systems is the better stop for that.
Terrain and trail surface change the math too
This is where a lot of difficulty estimates quietly fall apart. Every formula above assumes a reasonably maintained trail surface. The moment you’re off that surface, the numbers stop telling the whole story.
For a full rundown of what actually counts as hazardous terrain on California trails and how to plan around it, our terrain hazards guide is the deeper resource; this section is specifically about how terrain type warps a difficulty formula.
Technical terrain vs. maintained trail
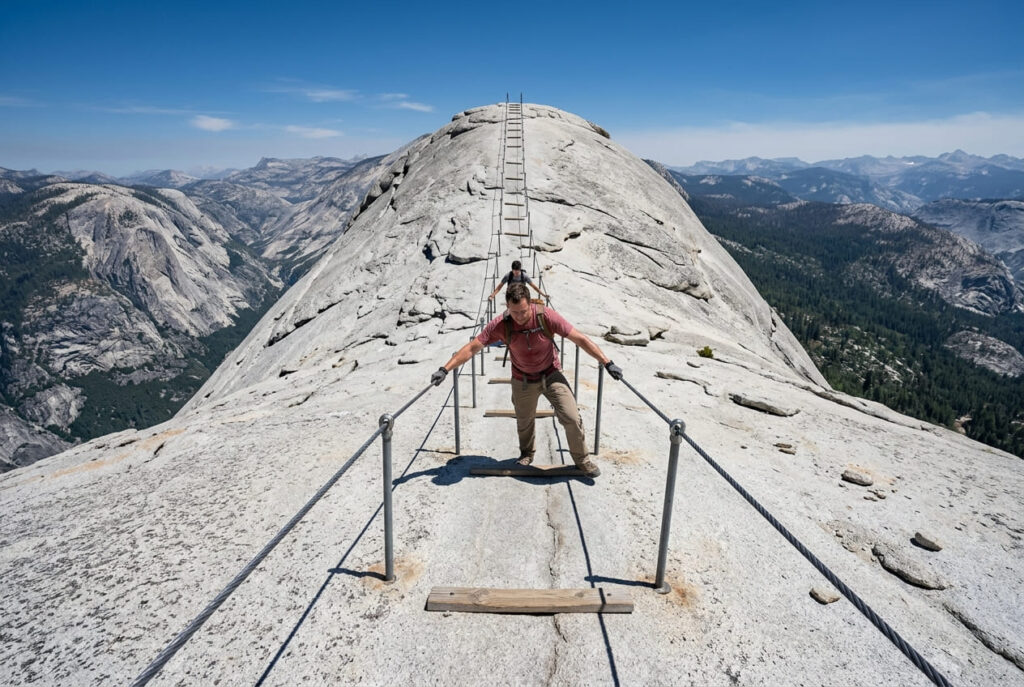
A smooth, well-graded fire road and a loose granite scramble can carry the exact same elevation-gain number and still be nowhere close in actual difficulty. Half Dome is the clearest California example I know.
The two miles from Little Yosemite Valley to the sub-dome gain nearly 1,400 feet at a grade over 15%, brutal, but still just steep hiking. Then comes the cable section itself: 400 feet of exposed granite at close to a 45-degree angle, hand over hand on steel cables.
Same trail, same elevation-gain column in a spreadsheet, an entirely different category of effort. The National Park Service’s Half Dome permits page has the current cable-season dates and lottery details if you’re planning around it; as of August 2026, the cables are up for the season.
Exposure and scrambling
Exposure is its own difficulty variable, separate from raw physical effort. A trail can be aerobically easy and still be frightening if a misstep puts you near a fall.
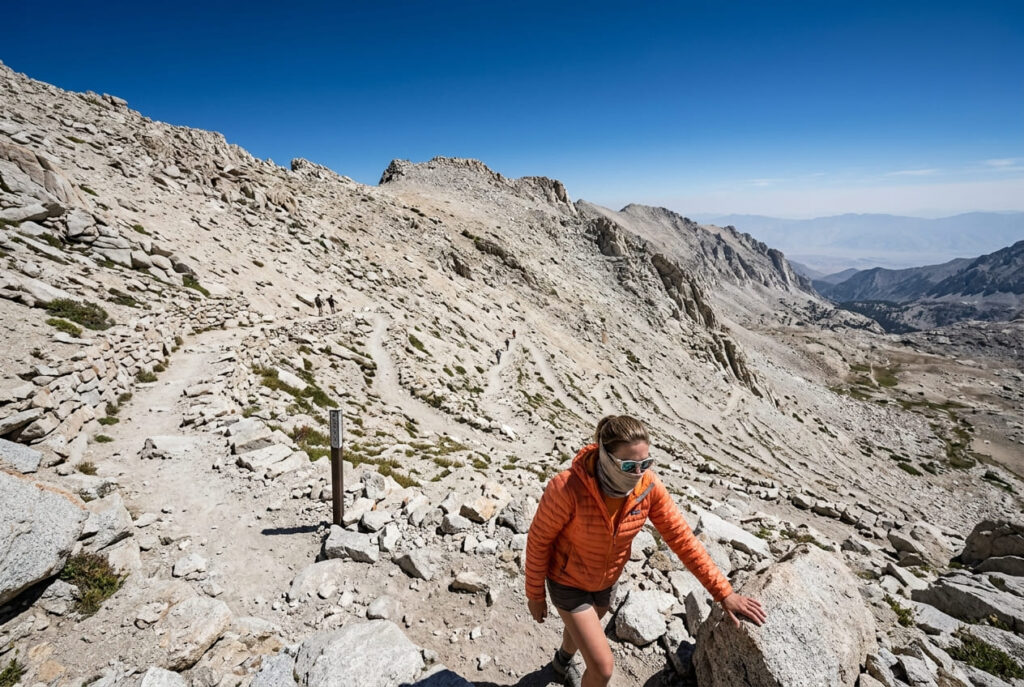
The Mount Whitney Trail, covered in our Mount Whitney trail guide for Inyo County, is a good teaching example: the famous “99 switchbacks” climb about 1,600 feet from Trail Camp at 12,000 feet to Trail Crest at 13,650 feet, exposed and relentless the entire way.
Nothing about it is technical climbing; it’s a Class 1 trail, no ropes, no scrambling required, but exposure and altitude stacked together make it feel far harder than the elevation-gain number alone would suggest.
Altitude as a difficulty multiplier
Here’s a fact that surprises people I train constantly: identical elevation gain does not cost you the same effort at every starting elevation.
The CDC flags roughly 8,000 feet as the threshold where altitude illness risk becomes real, and the physiology backs that up; controlled studies simulating hypoxic conditions around 8,000 feet have measured drops in exercise speed and oxygen saturation, alongside a jump in heart rate, purely from thinner air.
If you’re researching trails above that line regularly, our guide to high-elevation hiking in the Sierra Nevada goes deeper into acclimatization and pacing.
Why the same elevation gain feels harder above 8,000 feet
The mechanism is simple: your body needs more oxygen to do the same physical work, and above roughly 8,000 feet, there’s measurably less of it available per breath.
A 1,000-foot climb that would barely register at sea level can leave you gasping at 12,000 feet on Whitney’s final push, or on White Mountain Peak, California’s third-highest summit at 14,252 feet and, unlike Whitney, permit-free if you want a high-altitude experience without the lottery odds.
None of the formulas in the table above account for this. If your trailhead sits above 8,000 feet, I’d manually bump my difficulty estimate up one full tier, no matter what the math says.
Putting it together: calculating your own estimate
Here’s the version I actually use in the field, built from everything above. It won’t be perfect; nothing here is, but it’ll get you closer than mileage alone ever will.
- Start with your round-trip distance in miles.
- Add elevation-adjusted miles: divide your total elevation gain by 1,000, and add that number to your distance. (This is the AMC rule from earlier, just applied directly.)
- Adjust for terrain: if any portion of the trail is loose, technical, or requires scrambling, add another 20-30% on top of your running total.
- Adjust for altitude: if the trailhead or summit sits above 8,000 feet, bump your final number up by roughly 2 miles of “effort.”
Then compare your total to these rough bands, which I built by cross-referencing several official and guidebook systems against what I’ve actually felt on trail:
| Effort-adjusted miles | Difficulty band |
|---|---|
| Under 5 | Easy |
| 5–9 | Moderate |
| 9–14 | Strenuous |
| 14 and up | Very strenuous |
Run Mount Whitney through it: 22 miles, plus roughly 6.1 (6,100 ft ÷ 1,000), plus an altitude bump, and you land well past 14. That tracks with reality; Whitney is one of the hardest day hikes in the state, and every serious guide treats it that way.
The honest bottom line: no formula replaces judgment. These numbers assume reasonable fitness and good conditions, and they say nothing about your specific body on that specific day. I’ve watched two equally fit hikers post wildly different times on the same trail because one of them slept badly the night before.
Use the math to set expectations, not to guarantee them, and if you’re eyeing something in the Strenuous or Very Strenuous band, our guide on how to actually train for one is the natural next stop before you commit to a date.
Frequently asked questions about how trail difficulty is calculated
What does grade indicate on hiking trail maps?
Grade is the steepness of the trail, expressed as a percentage: elevation gain divided by horizontal distance. A 10% grade means you climb 10 feet for every 100 feet you walk forward, and a grade above roughly 15% is where most hikers start feeling it in their legs regardless of total distance.
Is 1,000 feet of elevation gain a lot?
For most reasonably fit hikers, 1,000 feet spread over 3-4 miles feels moderate. The same 1,000 feet packed into under a mile, like at Baldwin Hills, feels strenuous. Total gain matters less than the rate you’re gaining it.
How is trail difficulty different from trail length?
Length only measures how far you’re walking. Difficulty factors in how much you’re climbing, what the surface is like, and how exposed or technical the terrain gets, which is exactly why two trails of identical length can land in completely different difficulty tiers.
Does trail difficulty change with weather conditions?
Yes, significantly. Heat, mud, snow, and ice can all push an otherwise moderate trail into strenuous territory, and none of the standard formulas account for current conditions; they assume a dry, clear day. Always check current alerts before you commit, especially anywhere with seasonal snowpack or river crossings.
Is pace part of how difficulty is calculated?
Not directly in the core formulas; they’re built around a hypothetical “average” hiker’s pace. Your actual pace affects how *long* the difficulty lasts, but it doesn’t change the underlying physical numbers: the elevation gain and terrain are fixed no matter how fast or slow you move through them.
Why do two hikers disagree about how hard a trail was?
Because every formula here assumes “reasonable fitness under normal conditions”, a baseline that varies enormously in practice. Acclimatization, sleep, hydration, pack weight, and even how recently someone’s hiked at elevation all shift the felt difficulty far more than any spreadsheet number can capture.