The California Hiking Trail Glossary: Every Term You’ll See on This Site, Explained
Every niche has its own shorthand, and hiking has more of it than most. Someone mentions a trail is “Class 3 with some exposure,” or that you’ll need a bear canister and a permit with a quota, or that there’s a water cache around mile 40 but don’t count on it, and if you’re newer to California trails, that’s three sentences of near-total mystery. I wrote this California Hiking Trail Glossary because I kept explaining the same dozen terms in the comments and DMs on other guides on this site, and figured it was time to just put them all in one place.
Disclosure: Please note that some of the links below are affiliate links and at no additional cost to you, I may earn a commission. Know that I only recommend hiking gear I personally stand behind; when you use my affiliate links, it helps me run this blog and keep all of this content free of charge for readers (like you).
This isn’t a dictionary in the dry sense. Every term here shows up somewhere, on a specific California trail, in a specific planning decision, and I’ve tried to keep the examples concrete rather than abstract. Bookmark this one; you’ll probably end up back here more than once.
Key takeaways before we dive in:
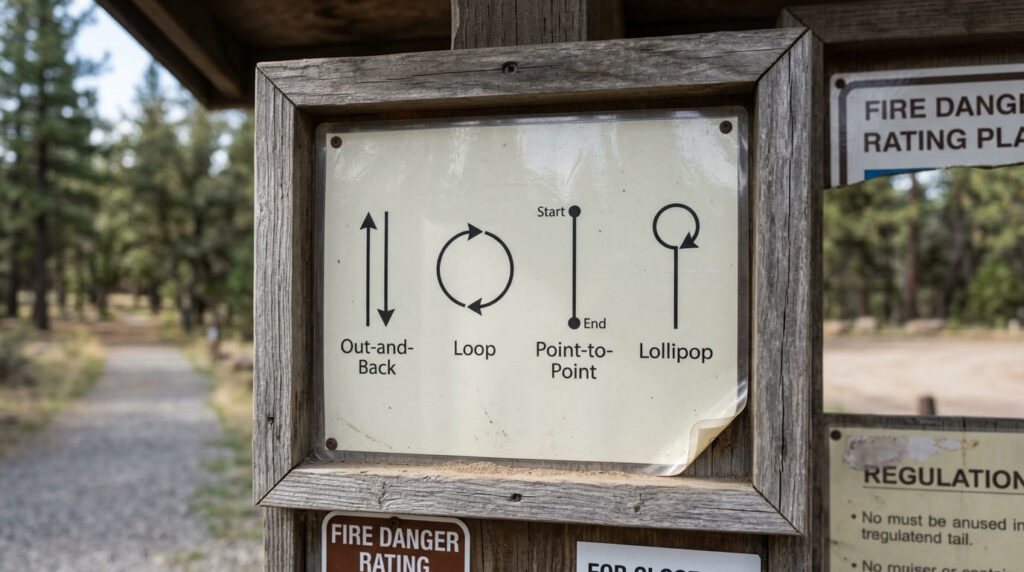
- Route shape (out-and-back, loop, point-to-point, lollipop) tells you how a trail returns to the start, or whether it does at all.
- “Exposure” and “Class rating” describe fall risk and terrain difficulty, separately from how tired a trail will make you.
- Permit terminology (quota, Adventure Pass, bear canister) is often the gatekeeper for whether you can legally do a hike at all.
- Water and weather terms like “water cache” and “marine layer” directly affect trip timing and safety, especially in the desert and Sierra.
Trail Type & Route Terms
Out-and-Back, Loop, Point-to-Point & Lollipop
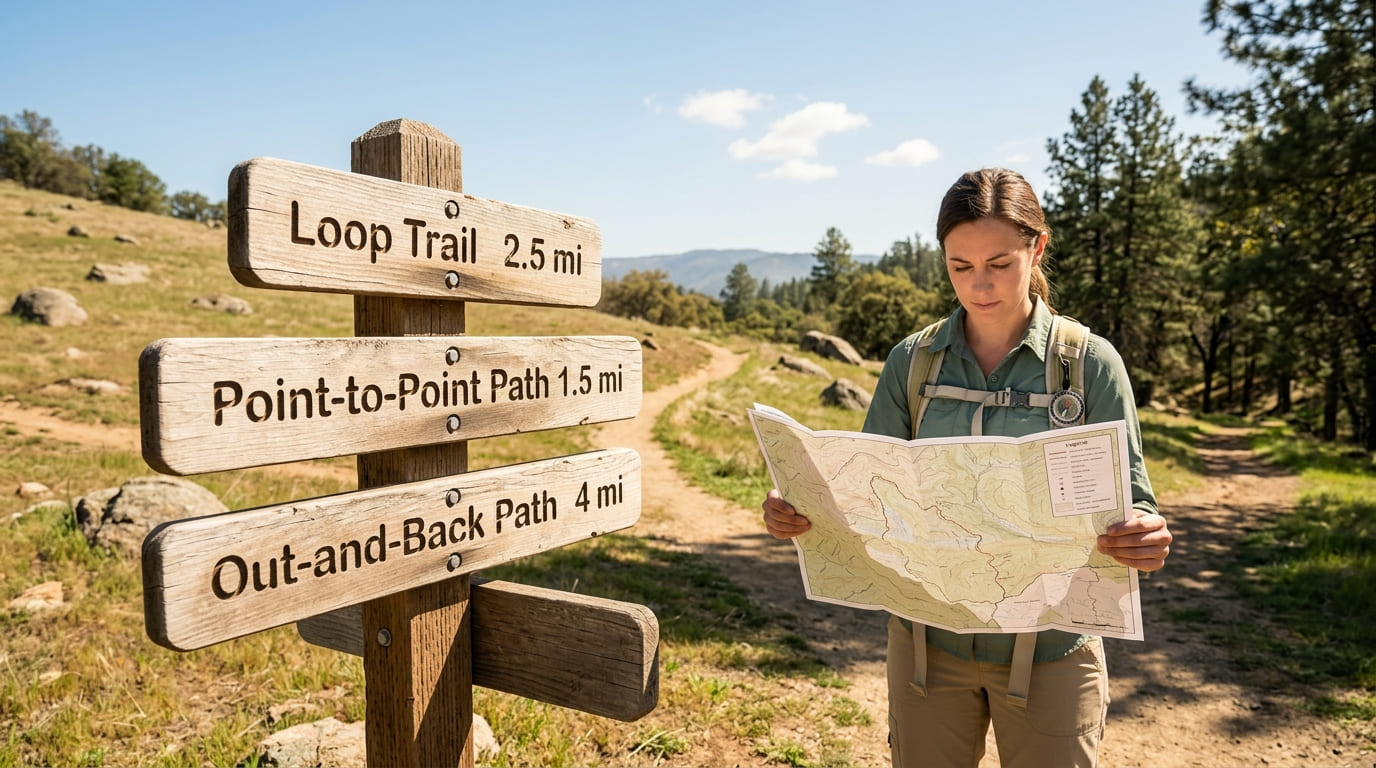
These four words describe the shape of a trail, and they matter more for trip planning than most people realize. An out-and-back trail goes to a destination and returns the exact way it came; you’ll walk every mile twice. A loop trail returns to the trailhead via a different path, so you never retrace your steps.
A point-to-point trail starts and ends in different locations entirely, which means you need a car shuttle or a second vehicle waiting at the far end.
And a lollipop is the hybrid: an out-and-back that opens into a loop partway through, so you retrace a short connector segment but loop around the main destination.
If you’re specifically looking for the out-and-back format, our full guide to California’s best out-and-back trails rounds up the state’s best single-day options. For loop-lovers planning something longer, our guide to the best multi-day backpacking loops in the state covers the other end of that spectrum.
Thru-Hike vs. Section Hike vs. Day Hike
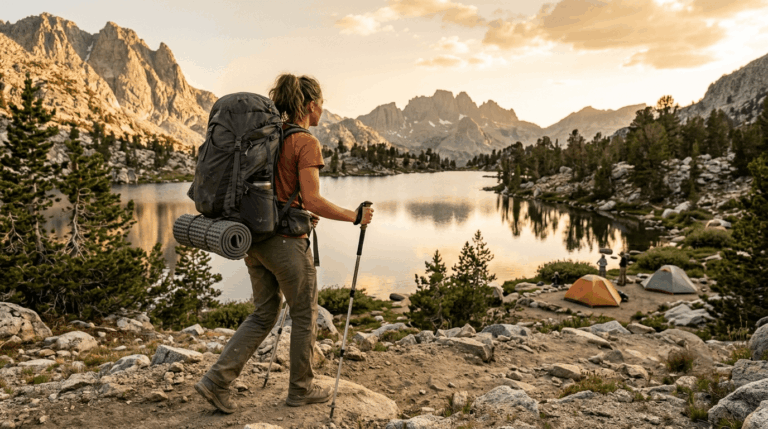
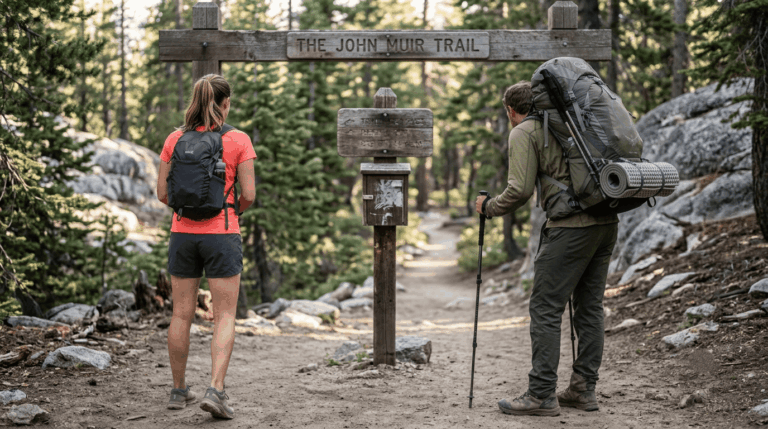
A thru-hike means completing an entire long-distance trail end-to-end, typically in one continuous, months-long push; the John Muir Trail or the California stretch of the Pacific Crest Trail are the state’s two classic examples.
A section hike tackles just one piece of that same trail, on its own timeline, without attempting the whole thing at once. A day hike, by contrast, is any hike completed in a single day with no overnight camping involved, which describes the overwhelming majority of hikes on this entire site.
If you’re weighing a bigger commitment, our John Muir Trail planning guide and our guide to hiking the Pacific Crest Trail through California both walk through what separates a thru-hike attempt from a shorter section.
Difficulty & Terrain Terms
Scramble, Exposure & Class Ratings
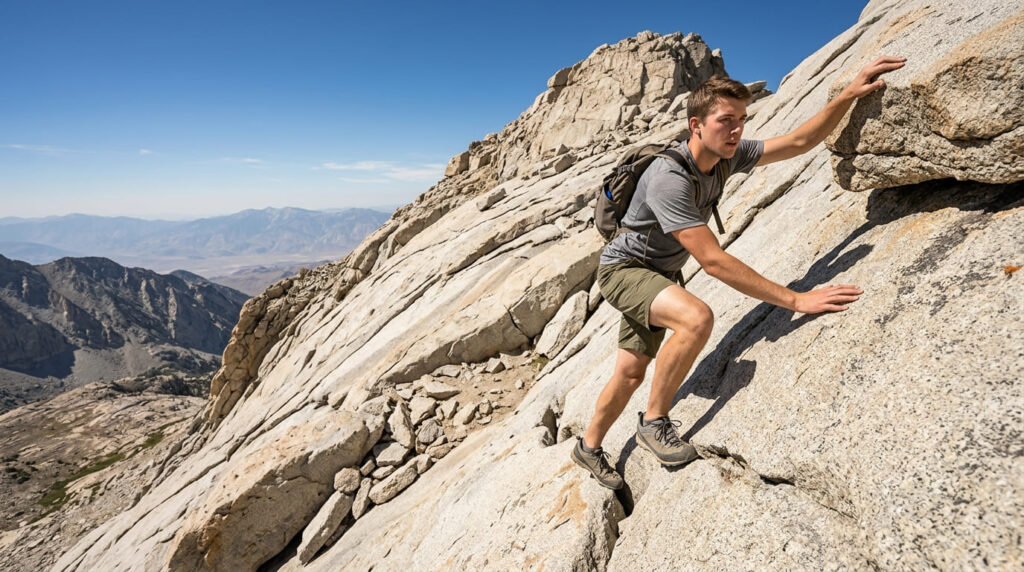
A scramble is a section of trail steep or rough enough that you’re regularly using your hands for balance or upward progress, without it becoming technical rock climbing.
Exposure describes proximity to a fall hazard; a trail can be aerobically easy and still carry serious exposure if a misstep puts you near a drop.
Climbers borrowed a five-tier scale, the Yosemite Decimal System, to standardize this: Class 1 is ordinary trail walking, Class 2 is rougher terrain with occasional hand use, Class 3 is scrambling where hands are regularly needed and a fall could hurt, Class 4 adds exposure and is often roped, and Class 5 is technical rock climbing.
Mount Whitney’s summit approach is a good local example of Class 1-2 terrain that still manages to feel intimidating, purely from exposure and altitude rather than technical difficulty.
I go much deeper into how all of this factors into an actual difficulty number in our difficulty-calculation guide; this entry is just the vocabulary; that guide is the math.
Switchback, Talus & Scree
A switchback is a zigzagging trail segment that traverses a steep slope at an angle instead of straight up it, trading distance for a gentler grade; you’ll see hundreds of them on any serious Sierra climb. Talus is broken rock large enough to step on individually, generally stable underfoot even though it’s uneven.
Scree is the smaller, looser stuff, often no bigger than a fist, that tends to slide out from under your feet on a slope. The practical difference matters: talus is slow and awkward but generally trustworthy; scree is more likely to send you sliding.
Both terms show up constantly once you’re above treeline, which is exactly where our guide to high-elevation hiking in the Sierra Nevada picks up the conversation.
Permit & Regulatory Terms
Wilderness Permit, Quota & Adventure Pass
A wilderness permit is required for overnight stays (and, in a few specific zones like the Mount Whitney area, even for day use) in most designated wilderness areas across California’s national forests and parks.
Most permits operate under a quota system, a hard daily cap on how many people can start a given trailhead, which is why popular routes like Half Dome and the Whitney Trail run lotteries months in advance rather than first-come, first-served access.
Separately, the Adventure Pass is a regional parking fee, not a wilderness permit: as of January 2026, it costs $5 per day or $30 per year, and it’s required specifically when you park at a developed recreation site, not just for driving through or a quick roadside stop, in the Angeles, Cleveland, Los Padres, or San Bernardino National Forests. The USDA Forest Service’s official Adventure Pass page has the current fee schedule and exact site list.
I cover the full permit landscape, lottery timing, and which specific trails need which pass in our statewide permits guide.
Bear Canister & Leave No Trace
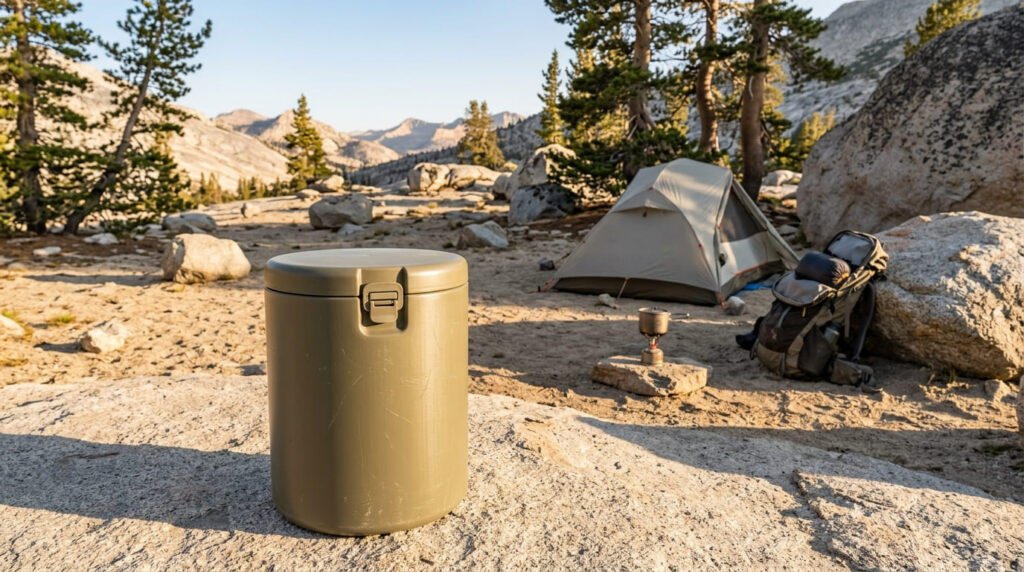
A bear canister is a hard-sided, animal-proof container required for overnight food storage in bear country. Yosemite requires one for every overnight wilderness trip with no exceptions, and Inyo National Forest requires one specifically within the Mount Whitney Zone and several other designated Sierra basins.
Leave No Trace is the broader set of seven outdoor ethics principles, things like packing out all trash, camping on durable surfaces, and leaving natural objects (including cairns, more on that below) undisturbed.
The Leave No Trace Center for Outdoor Ethics publishes the official seven principles if you want the source document itself, and our own Leave No Trace Principles: The California Hiker’s Environmental Code walks through what each one actually looks like on a California trail.
Water & Weather Terms
Water Cache, Ford & Snowmelt
A water cache is a stash of water bottles left along a trail, usually by volunteers on long-distance routes like the PCT’s desert section, for hikers passing through dry stretches.
The Pacific Crest Trail Association is blunt about this one: never rely on a cache being there; plan your water as if it isn’t, since caches can and do run dry.
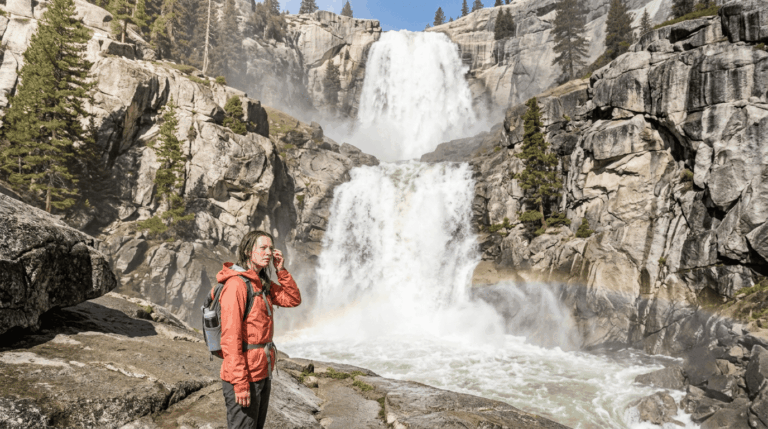
To ford a stream means to cross it on foot where no bridge exists, which becomes a serious consideration during peak snowmelt, the surge of water off melting Sierra snowpack, typically running heaviest from late May through June, that can turn a knee-deep creek into a dangerous crossing within a single warm afternoon.
If a recent storm has you thinking about water levels, our guide to post-rain waterfall trails covers how conditions shift right after rain.
Marine Layer, Monsoon & Afternoon Thunderstorms
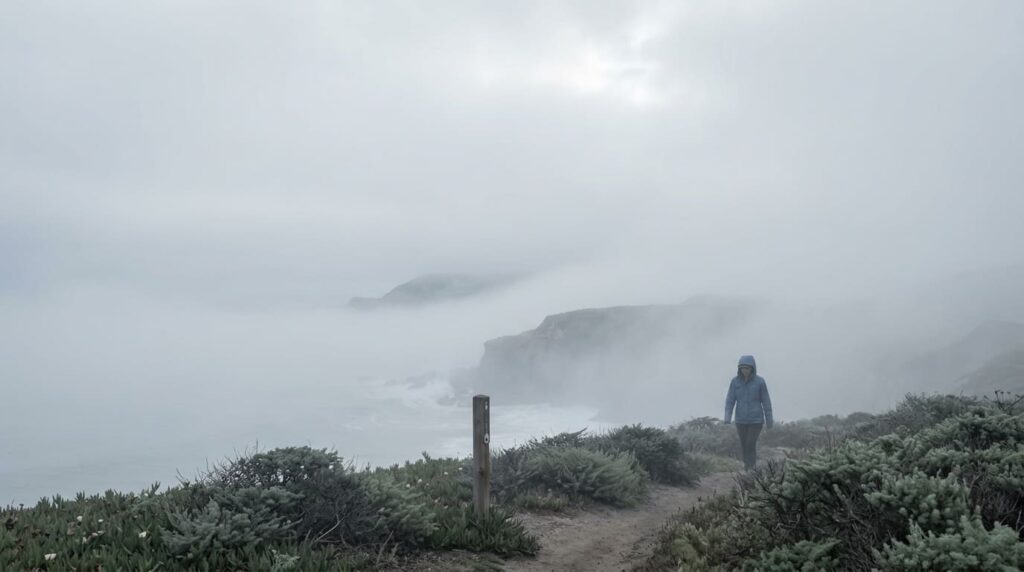
The marine layer is the blanket of cool, moist air and low stratus clouds that regularly pushes onto the California coast, most intensely from late May through August; locals call the worst stretches “May Gray” and “June Gloom.”
It usually burns off by midday, which is exactly why so many coastal hike recommendations on this site suggest an early start.
Inland and in the Sierra and desert regions, the relevant summer pattern is the North American Monsoon, which brings a risk of sudden afternoon thunderstorms roughly from July through September, dangerous if you’re exposed above treeline, which describes a lot of the Mount Whitney Trail covered in our Mount Whitney trail guide for Inyo County.
The standard rule in monsoon country is to summit early and be well below any exposed ridgeline before early afternoon.
For the full picture on how fog, heat, and sudden storms interact across different parts of the state, our weather hazards guide is the deeper resource.
The honest bottom line: none of these terms are complicated once you’ve seen them once, but they compound fast when you hit five unfamiliar ones in a single trail description. Bookmark this page, and when you hit a term on another guide here that sends you back to this glossary, that’s exactly what it’s for.
Frequently asked questions about California hiking trail terminology
What is the difference between a trail and a hiking shoe?
A trail is the physical path or route you’re walking, the thing itself, made of dirt, rock, or pavement. A hiking shoe (sometimes marketed as a “trail shoe” or “trail runner”) is footwear designed for that terrain. They’re related only in that a trail’s surface and technicality usually determine what kind of shoe makes sense for it.
What does “exposure” mean on a trail description?
Exposure describes how close a trail puts you to a fall hazard, a steep drop-off, a narrow ledge, or unprotected cliff edges. It’s independent of physical difficulty: a trail can be aerobically gentle and still carry serious exposure, or vice versa.
What is a cairn?
A cairn is a small, human-stacked pile of rocks used as a trail marker, especially above treeline or on bare granite where paint blazes, or signs aren’t practical. One important etiquette note: never build your own cairn along an established route; an unofficial one can mislead other hikers off the trail, and it runs against Leave No Trace principles.
What does “use trail” mean?
A use trail is an unofficial but visibly worn path created by repeated hiker foot traffic rather than official trail construction, common in the Sierra backcountry as the approach to an off-trail lake, peak, or viewpoint. It’s followable but not maintained, marked, or guaranteed to be the best route.
What is a trailhead register?
A trailhead register is a logbook, usually in a small box or kiosk at the trailhead, where hikers can record their name, group size, and planned route. It’s not mandatory everywhere, but filling one out gives search-and-rescue teams a head start if something goes wrong.
What does “gain” mean on a trail description versus “loss”?
Elevation gain is the total cumulative uphill climbing on a trail; elevation loss is the total cumulative downhill descent. On an out-and-back trail, these numbers are identical in both directions, but on a loop or point-to-point trail, they can differ significantly; a trail can have far more gain than loss, or the reverse, depending on where you start.