Lost on a California Trail? Here’s Exactly What to Do Next
If you are lost right now, stop walking. If you have any cell signal at all, call or text 911 before reading further; even a partial bar can be enough. Getting turned around on a trail is far more common than most hikers assume, and it’s rarely the dramatic, headline-making scenario people picture. Usually it’s smaller than that: a missed junction, a use trail that petered out, a fork that looked right and wasn’t. What determines how the rest of that day goes isn’t how it started. It’s what you do in the next ten minutes. If you don’t, keep reading; the next section covers exactly what to do if you lost.
Disclosure: Please note that some of the links below are affiliate links and at no additional cost to you, I may earn a commission. Know that I only recommend hiking gear I personally stand behind; when you use my affiliate links, it helps me run this blog and keep all of this content free of charge for readers (like you).
I’ve spent years researching how California trails are built, marked, and rated, and the pattern in nearly every lost-hiker story I’ve read is the same: the situation got worse because of what the person did after realizing they were off-route, not because of the wrong turn itself. This guide walks through exactly what to do, in order, calmly.
Key takeaways before we get into it:
- The STOP method (Stop, Think, Observe, Plan) is the standard search-and-rescue protocol, and the single most important step is the first one.
- Continued movement after getting lost usually makes things worse, not better, by expanding the area rescuers have to search.
- A whistle and basic visual signals work when your phone doesn’t, no battery, no signal required.
- The single most effective prevention is free: telling someone your specific route and return time before you go.
Stop, Stay Calm, and Assess (The STOP Method)
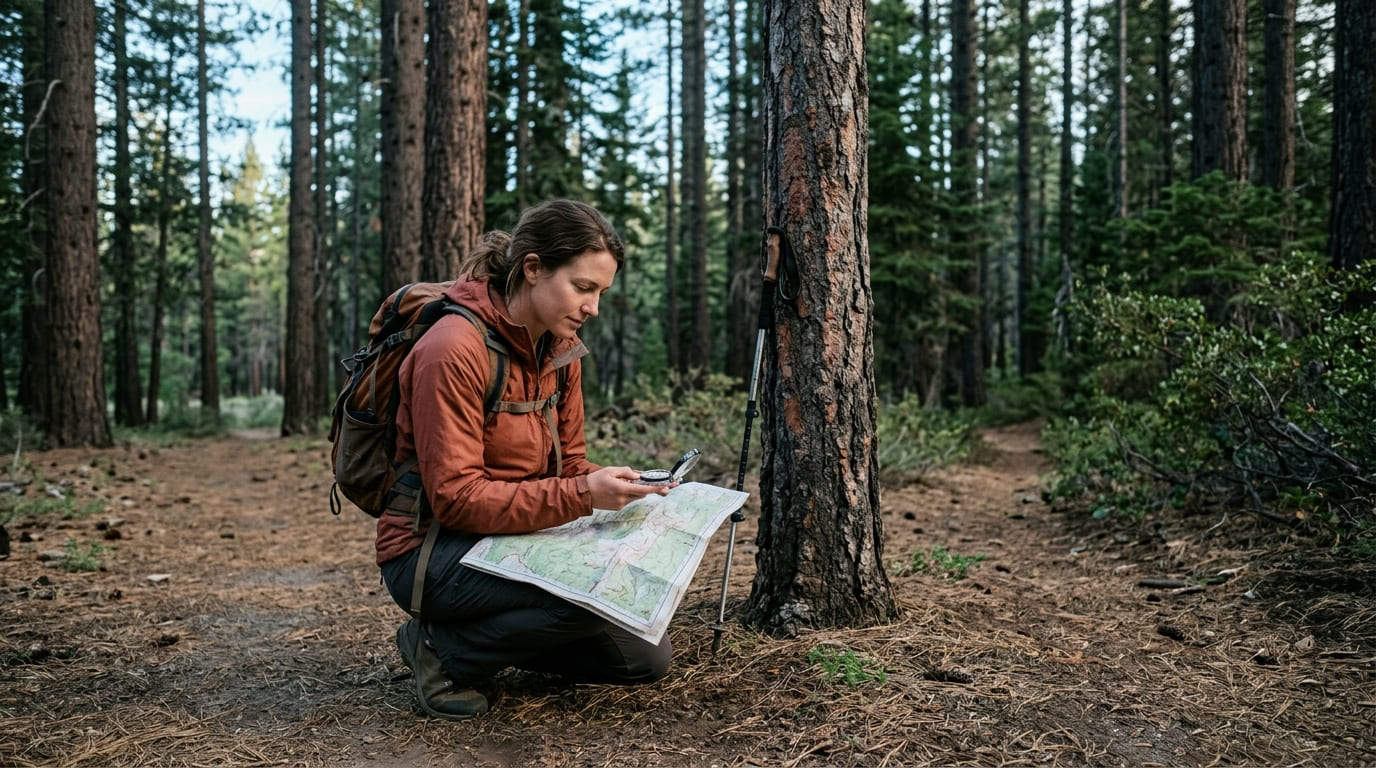
The STOP method, Stop, Think, Observe, Plan, is the protocol taught by search-and-rescue organizations and outdoor educators nationwide, and it’s built around a useful insight: the instinct to keep moving when you’re uncertain is almost always the wrong one.
The U.S. Forest Service’s own guidance is direct about this: as soon as you realize you may be lost, stop, stay calm, and stay put, then mentally retrace how you got to where you’re standing.
Why Moving Further Often Makes Things Worse
Every additional step you take in an unknown direction does two things at once: it moves you further from the point where you were last confidently on-route, and it makes that “last known point”, the single most important piece of information a search team has, less useful.
Search patterns radiate outward from wherever a hiker was last confirmed to be. A hiker who stays roughly in place is searching a small, predictable area; a hiker who keeps wandering can turn a two-hour search into a two-day one.
Signs You Should Stay Put vs. Try to Self-Rescue
There’s a real distinction here, and it’s worth being honest about it rather than pretending the answer is always “never move.” If you’re confident you know the direction back to the trail, it’s a short distance, you have daylight and energy left, and you haven’t already been wandering, a careful, deliberate attempt to retrace your steps can make sense.
If any of that isn’t true, you’re not sure which way is back, daylight is limited, you’re exhausted, or you’ve already been moving in an uncertain direction for a while, staying in place and signaling for help is the safer call. When unsure, default to staying put.
How to Signal for Help
If retracing your steps isn’t a safe option, the next job is making yourself easy to find.
Using a Whistle and Visual Signals
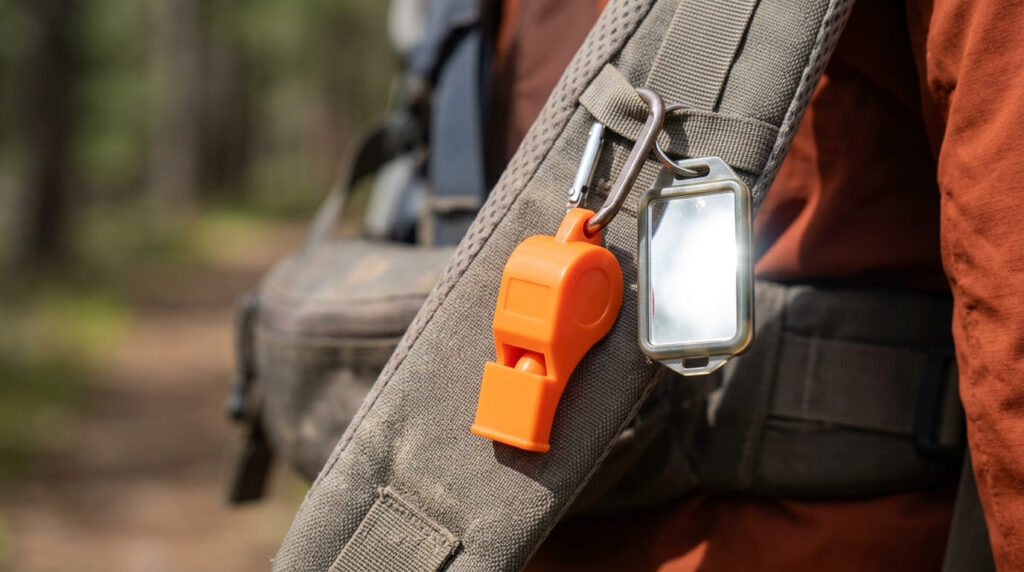
The universal wilderness distress signal is three of anything: three whistle blasts, three shouts, three flashes of a mirror or light, spaced evenly, repeated periodically.
It’s recognized specifically because it doesn’t happen naturally; one or two sounds could be anything, but three evenly spaced signals read unmistakably as a call for help. A whistle carries dramatically farther than your voice and costs nothing in energy to use, which matters if you’re already tired.
Bright clothing, a signal mirror, or anything that contrasts sharply with the surrounding terrain also helps searchers, including aircraft, spot you faster.
These same wayfinding principles are why official trail signage and blazes matter so much in the first place; if you want more on how CA trails are typically marked, our hiking trail glossary covers terms like cairns and use trails in more depth.
When (and When Not) to Rely on Your Phone
Here’s the nuance worth knowing: FCC rules require every carrier to route a 911 call to emergency dispatchers, even if you’re not a subscriber and even if your own carrier has zero bars; your phone will automatically attempt the call through any carrier’s tower it can reach.
Newer phones (iPhone 14 and later, recent Google Pixel models) go a step further and can send an emergency SOS via satellite even with zero cell towers in range, entirely free. But none of that helps if there’s no signal of any kind to reach, which describes a lot of California’s high-elevation wilderness.
The Desolation Wilderness, the Ansel Adams Wilderness, and the Stanislaus National Forest, home to the Emigrant Wilderness, are three good examples of terrain covered across this site where cell coverage is patchy at best across most of the interior. In those areas, a phone with no service is just a very expensive whistle.
Preventing the Situation in the First Place
Everything above is what to do once you’re already lost. This section is about not getting there.
Telling Someone Your Route Before You Go
This is the single most effective, completely free thing you can do, and it’s the one people skip most often. Tell someone not on the hike your specific planned route, your trailhead, your vehicle description, and your expected return time, and agree on when they should call for help if you’re overdue.
This one piece of information is what turns “a search of the entire county” into “a search of a specific 8-mile trail,” and it’s the difference that matters most in how fast a search begins.
It’s worth pairing with a signed trailhead register where one’s available, for exactly the same reason. For the fuller picture on preparation before you ever leave the car, our full guide to hiking safety in California and our navigation hazards guide both go deeper than this guide can.
Carrying a Satellite Communicator on Remote Trails
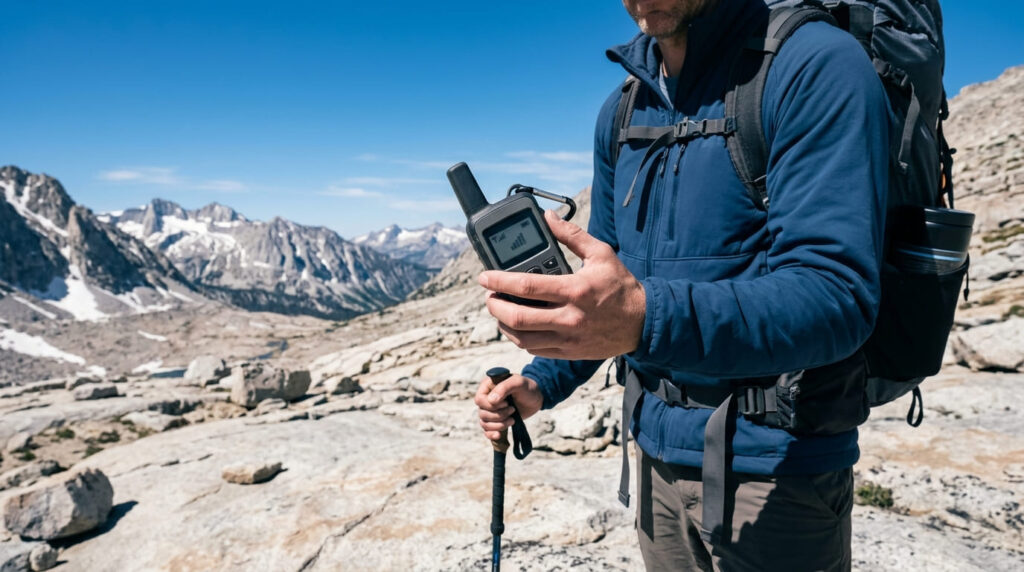
For remote, permit-required wilderness trails, the kind covered across this site’s high-elevation Fresno, Mono, and El Dorado County guides, a satellite communicator is a real investment worth considering, not just gear-shop upselling.
Devices like the Garmin inReach line run roughly $250 to $500 depending on the model, plus a monthly plan starting around $8 and running up to $50 for full-featured plans; as of mid-2026, Garmin has also started extending free SOS access for up to a year even on a suspended plan, which softens the ongoing cost for occasional users.
These devices send a two-way message and GPS coordinates via satellite from anywhere, cell tower or not, which matters enormously if you’re relying on a phone-based plan like the one above. For day hikes on well-traveled trails, our guide to the best hiking apps and navigation tools covers the more accessible, phone-based options.
What Happens When Search and Rescue Is Called
Understanding how a search actually unfolds makes the “stay put” advice above land differently.
How SAR Teams Typically Search
Search and rescue operations generally begin with everything known about your last confirmed location and planned route, which is exactly why telling someone your route matters so much.
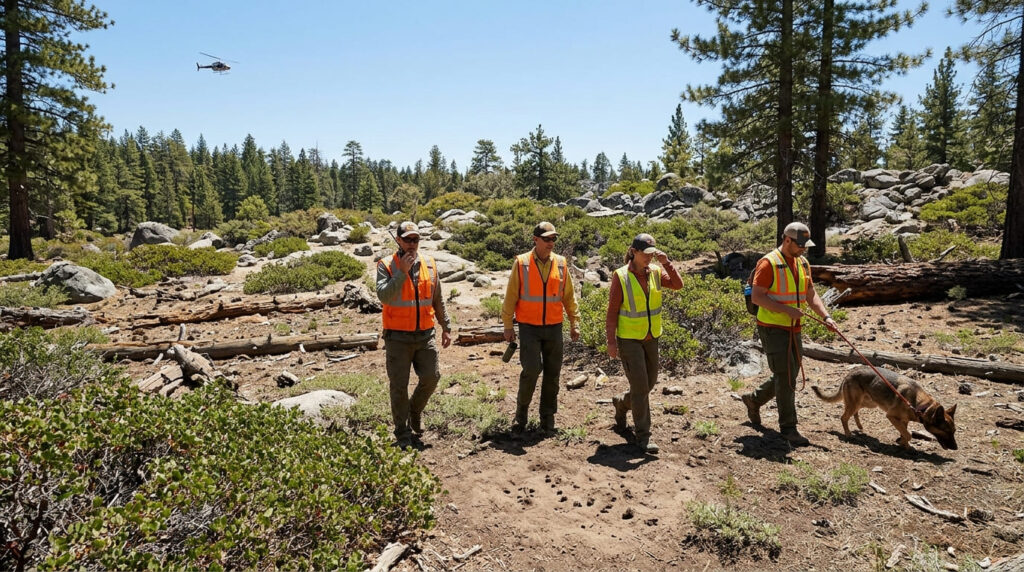
From that last-known point, search teams typically work outward in expanding patterns, often combining ground teams, trained dogs, and aircraft when terrain and weather allow.
A hiker’s own file of one Yosemite search-and-rescue study found that lost or missing hikers accounted for well over half of all SAR missions in the park in a given year; this is the most common scenario these teams train for, not a rare edge case. Staying visible, staying roughly in place, and using the signals above all directly shorten this process.
The honest bottom line: none of this is complicated, but it only works if you actually do it in the moment rather than after you’ve already wandered for two hours. Read it once, remember the shape of it, stop, signal, wait, and you’ll very likely never need more than that.
Frequently asked questions about getting lost on a California trail
What should you do first if you realize you’re lost?
Stop moving immediately. Don’t take another step in an uncertain direction, sit down if you need to, calm your breathing, and mentally retrace exactly how you got to where you’re standing before you do anything else.
Does calling 911 work if you have no service?
It depends on what “no service” means. If you have no bars from your own carrier but another carrier’s tower is in range, your call will still go through; carriers are required to route it. If there’s truly no cell tower signal of any kind nearby, a normal call won’t connect, though newer phones can still send an SOS via satellite. In true dead zones with no towers and an older phone, a dedicated satellite communicator is the only reliable option.
What should you always carry in case you get lost?
A paper map and compass you know how to use, a whistle, a headlamp with extra batteries, an extra insulating layer, more food and water than you think you’ll need, and, for remote or high-elevation trails, a satellite communicator. All of it works without cell service, which is the whole point.
Is it better to follow a stream downhill if you’re lost?
Sometimes, but it’s not the automatic right answer people assume. Streams often do lead toward roads or civilization eventually, but they can also lead into dense brush, steep drops, or waterfalls that are far more dangerous than staying put. If you’re not certain you know where a stream leads, and you have any reasonable chance of being found by staying in place, staying put is usually the safer bet.
How common is it for hikers to get lost in California?
More common than most people expect. Search-and-rescue research on Yosemite specifically has found that lost or disoriented hikers make up a substantial majority of the park’s SAR missions in a typical year, more than injuries, wildlife encounters, or any other single cause.
Does search and rescue cost money?
Usually not; in practice, most California search-and-rescue operations are conducted by volunteer teams and county sheriff’s departments and aren’t billed to the hiker. That said, California law technically allows a county to bill rescues costing more than $100 to the person’s county of residence in certain circumstances, though most counties rarely exercise it. Either way, fear of a bill should never be a reason to delay calling for help.