Ultralight Backpacking in California: Gear & Best Trails
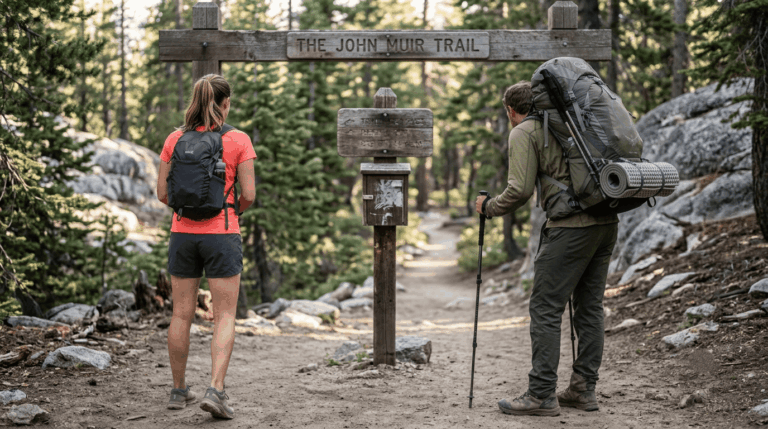
Ultralight backpacking means keeping your base weight, everything in your pack except food, water, and fuel, under 10 lb, and California’s long-distance trails reward that discipline more than almost anywhere else in the country. I’ve spent four-plus years cataloging trails across this state, and the John Muir Trail’s 211 miles and 46,000+ ft of cumulative elevation gain make a compelling case on their own: every pound you cut is a pound you don’t carry up Forester Pass. This guide covers the gear systems and the trails where going light actually pays off.
Disclosure: Please note that some of the links below are affiliate links and at no additional cost to you, I may earn a commission. Know that I only recommend hiking gear I personally stand behind; when you use my affiliate links, it helps me run this blog and keep all of this content free of charge for readers (like you).
Key takeaways:
- Ultralight means a base weight under 10 lb; lightweight is 10–20 lb; traditional backpacking runs 20+ lb.
- The gram-counting mindset: weighing and questioning every item matters more than any single piece of expensive gear.
- Tarps work well for Sierra summer conditions; shoulder-season and bug-heavy trips call for more shelter.
- A quilt saves real weight over a mummy bag but sacrifices some of the sealed warmth a bag provides in genuinely cold conditions.
- The JMT, Rae Lakes Loop, and High Sierra Trail are among California’s best-suited routes for an ultralight system.
What is ultralight backpacking, and how is it defined?
Ultralight vs. lightweight vs. traditional backpacking: the weight categories explained
| Category | Base weight |
|---|---|
| Traditional | 20+ lb |
| Lightweight | 10–20 lb |
| Ultralight | Under 10 lb |
| Superultralight | Under 5 lb |
Base weight excludes consumables, food, water, and fuel, which is why two backpackers can carry wildly different total pack weights on a given day while both running an “ultralight” base weight. These categories trace back to writers like Ryan Jordan and Andrew Skurka, who helped formalize ultralight philosophy in the early 2000s, though the core idea carries less question; everything predates the labels.
Why California’s long-distance trails make ultralight backpacking especially rewarding
The John Muir Trail (211 mi), the California section of the Pacific Crest Trail, and Sierra High Route-style off-trail travel all combine real distance with serious cumulative elevation gain, which is exactly the combination where pack weight compounds into fatigue fastest. Ten pounds saved off your base weight doesn’t just feel easier on day one; it’s the difference between a manageable climb and a miserable one by day eight of a JMT thru-hike. If you’re starting from scratch with backpacking before going ultralight, the beginner’s backpacking guide covers the fundamentals first.
The ultralight mindset: how to evaluate every item before you pack
Every item earns its place by weight, function, or both. Multi-use items (a trekking pole that doubles as a tent pole, a bandana that doubles as a towel and sun shield) are prized specifically because they let you carry less overall.
The gram-counting approach: how ultralight backpackers make gear decisions
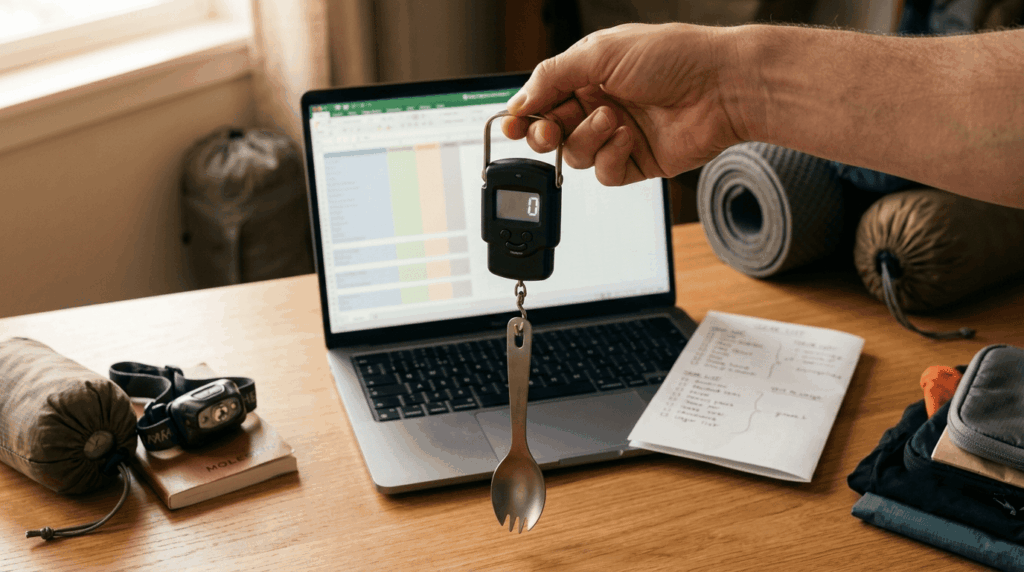
Most serious ultralight backpackers track every item’s weight in a spreadsheet or a tool like LighterPack, since you can’t manage what you haven’t measured. The guiding principle is “ounces make pounds, pounds make pain.” A few extra ounces may feel trivial in a gear store, but add up to real fatigue over 20 miles a day, with elevation gain stacked on top. Start by weighing your current kit before buying anything new; the cheapest weight savings are usually things you can leave home entirely: a second pair of camp shoes, a bulky camera, a book, not things you have to buy a lighter replacement for. Once you’ve cut what you can live without, then it’s worth spending on the genuinely heavy items: pack, shelter, and sleep system make up most of your base weight, so that’s where gear upgrades pay off fastest.
Ultralight shelter options for California’s varied backpacking terrain
Tarps vs. ultralight tents for California backcountry: when each makes sense
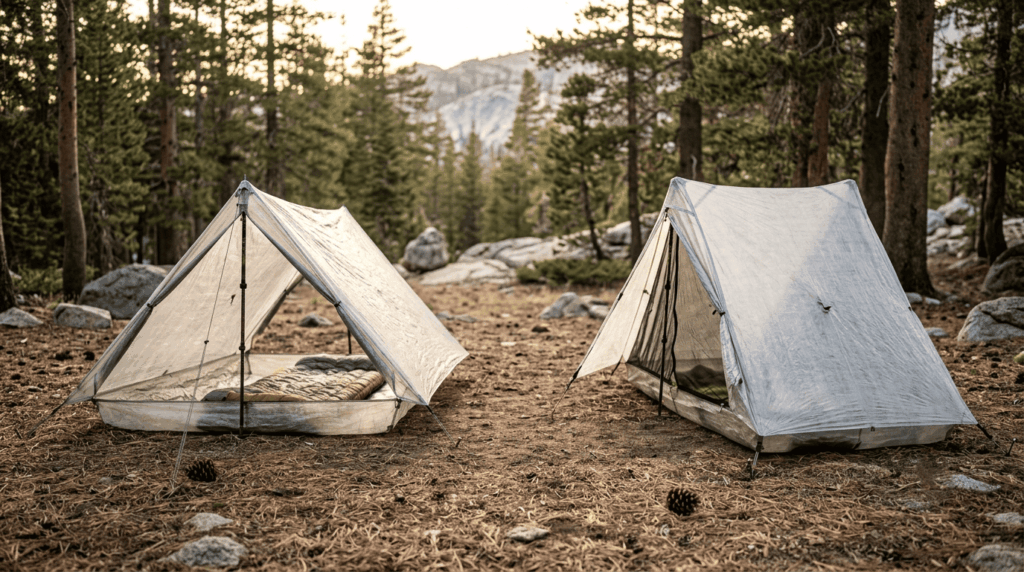
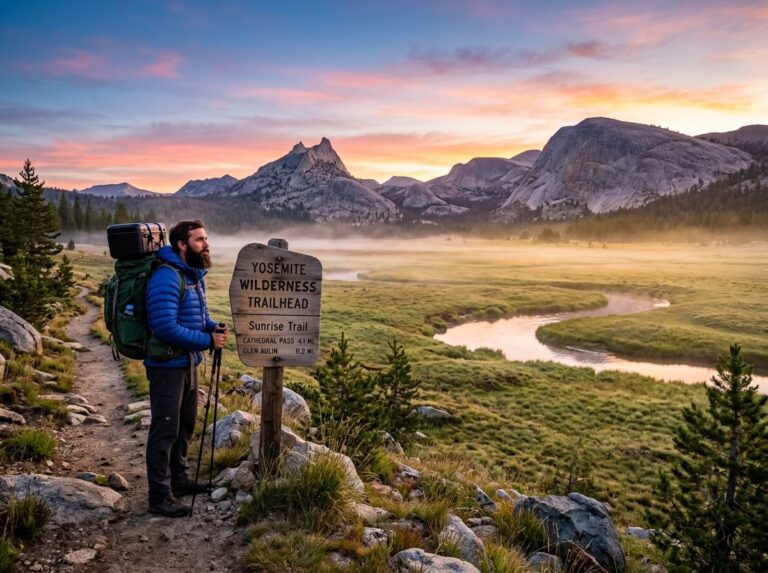
A tarp shelter is the lightest option and works well for Sierra summer trips with low risk of bugs and rain, but it requires more pitching skill and offers no protection against mosquitoes. An ultralight tent, something like a Zpacks Duplex or Big Agnes Copper Spur HV UL, earns its extra weight in shoulder season, in NorCal’s wetter conditions, or in bug-heavy zones like Yosemite’s high meadows in early summer. My rule: tarp for a dry-forecast Sierra summer trip, tent for anything with real bug pressure or unsettled weather. The seasonal hazards guide will help you predict which conditions apply to your target dates.
Bivy sacks for California backpacking: weight savings vs. comfort trade-off
A bivy sack splits the difference, lighter than a tent, more weather protection than a bare tarp, but genuinely claustrophobic for some people and prone to condensation on humid nights. Waterproof-breathable bivies manage moisture better than fully waterproof ones but still can’t match a tent’s livable space. An emergency bivy, meanwhile, is a legitimate ultralight compromise for its actual designed purpose, a backup shelter, not a primary one for planned nights out.
Ultralight sleep systems for California’s temperature ranges
Down quilts vs. sleeping bags for ultralight California backpacking
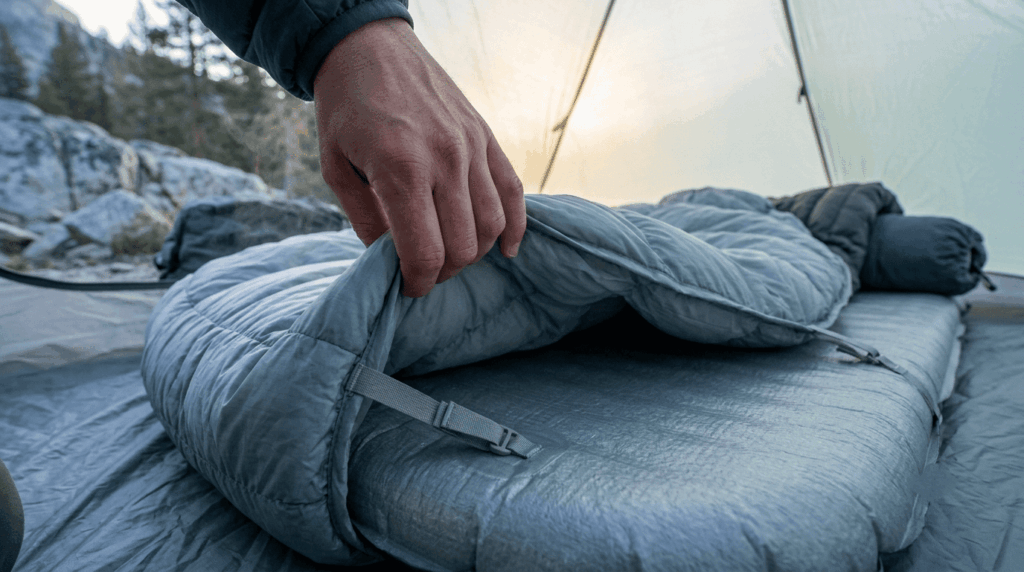
A down quilt saves real weight by cutting the insulation and zipper you’d otherwise carry underneath you, where a sleeping pad is doing most of the insulating work anyway, there’s little point paying for down you’re compressing flat under your own body weight all night. It also regulates temperature better on warm Sierra summer nights, since you can vent it easily without unzipping a full bag, and most quilts attach directly to your pad to prevent drafts. A traditional mummy bag still wins for genuinely cold shoulder-season trips, where a quilt’s open bottom edge and lack of a hood can let more warmth escape than some hikers are comfortable with, especially for anyone who’s a naturally cold sleeper. Match your sleeping pad R-value to the season; insulation underneath you matters as much as what’s on top, especially on cold granite at altitude where ground temperature can undercut an otherwise well-rated bag or quilt. See also the high-elevation hiking guide for temperature planning specifics.
Ultralight pack selection and carrying systems for California trails
Top ultralight pack picks for California backpacking: frameless vs. minimalist frame
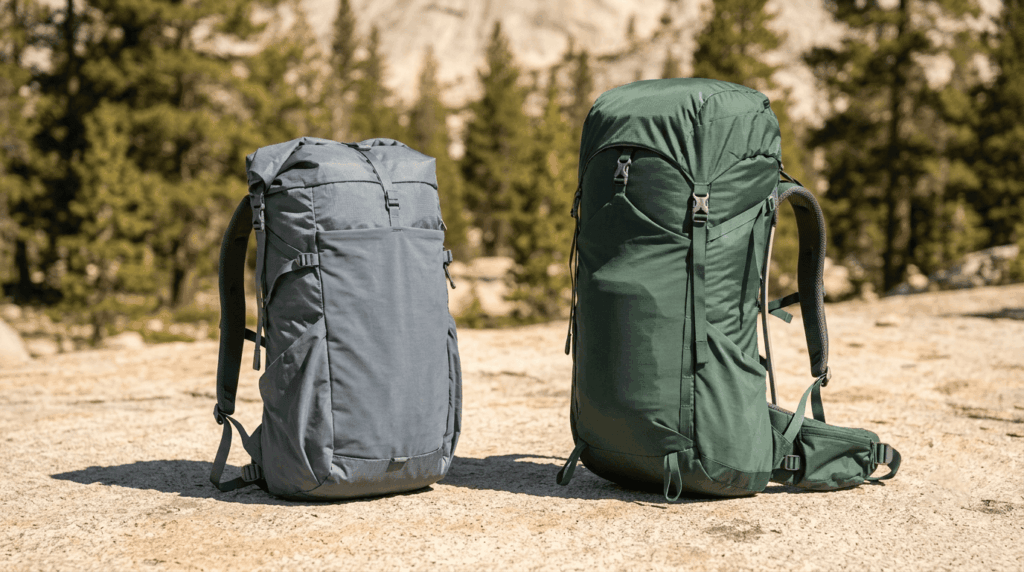
Pack choice depends almost entirely on how much weight you’re actually carrying, not just on how light the pack itself is on a shelf.
| Pack | Weight | Frame | Best for |
|---|---|---|---|
| Hyperlite Mountain Gear 2400 Windrider | ~1 lb 14 oz | Removable aluminum stays | Balanced weight and support for loads under 30 lb |
| Zpacks Arc Haul Ultra | ~1 lb 5 oz–1 lb 8 oz | Carbon fiber arc frame | True gram-counters prioritizing minimum weight |
| ULA Circuit | ~2 lb 6 oz | Aluminum stays, more padding | Heavier loads, bear canisters, longer food carries |
A genuinely frameless pack only makes sense once your total loaded weight stays under roughly 20–25 lb; above that, the lack of a frame shifts too much weight onto your shoulders instead of your hips, and the “savings” stop being worth it. If you’re carrying a bear canister on a multi-day Sierra trip, that alone often pushes total weight into frame territory regardless of how light everything else is.
Ultralight food strategy for California backpacking
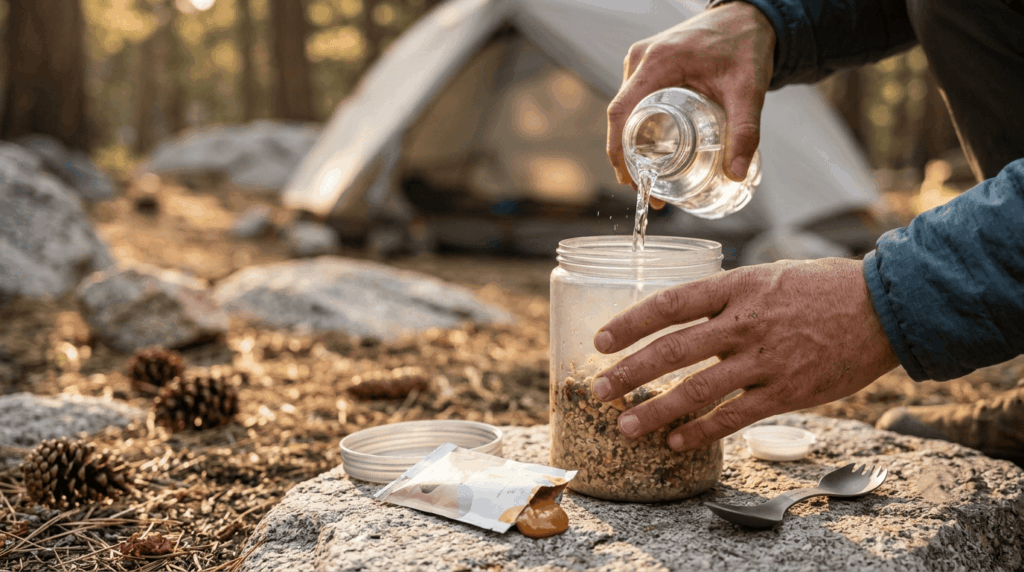
Target roughly 100+ calories per ounce to keep food weight down without shorting yourself on energy. Nut butters, olive oil additions, and dehydrated meals all hit that bar better than canned or fresh food ever will. No-cook strategies save additional weight (no stove, no fuel, no pot) but require more planning around what actually tastes tolerable cold after a long day; cold-soaking works for some meals and is genuinely unpleasant for others, so test it at home before committing to it on a week-long trip. Review the water and electrolytes guide for on-trail hydration strategy on high-mileage days.
Resupply strategies for California’s long-distance ultralight routes
On the JMT, Mammoth Lakes, Tuolumne Meadows, and Vermilion Valley Resort (VVR) are the standard resupply points, each with different logistics and reservation requirements worth researching before you start. PCT hikers in California typically mail resupply boxes ahead to post offices or resorts along the route. Yosemite offers bear canister rental specifically for hikers resupplying mid-route, which is worth knowing about if you don’t want to carry (or buy) a canister for the entire trail. Check Recreation.gov for current wilderness permit availability along your planned route.
Best ultralight backpacking trails in California
Top ultralight routes in the Sierra Nevada
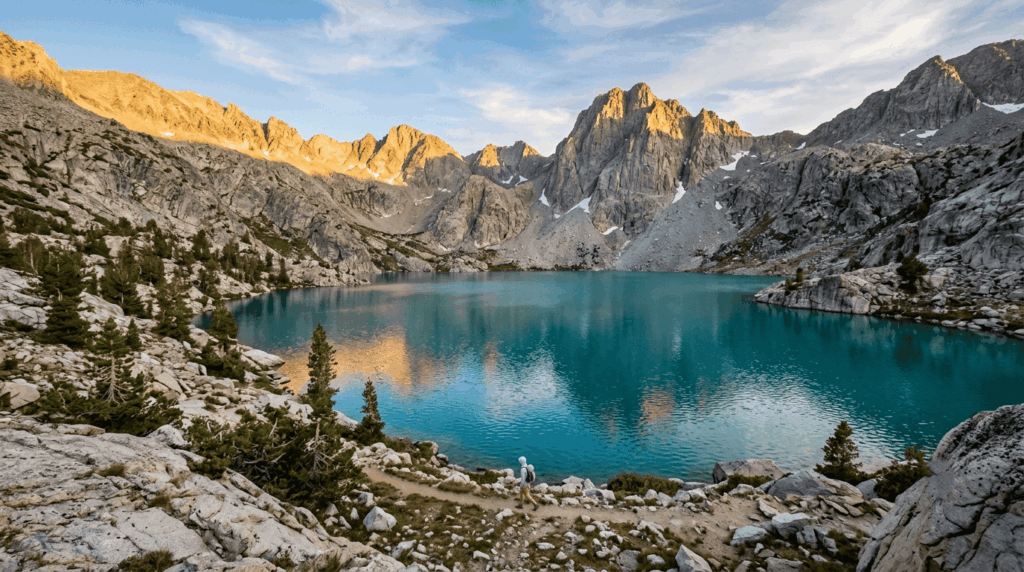
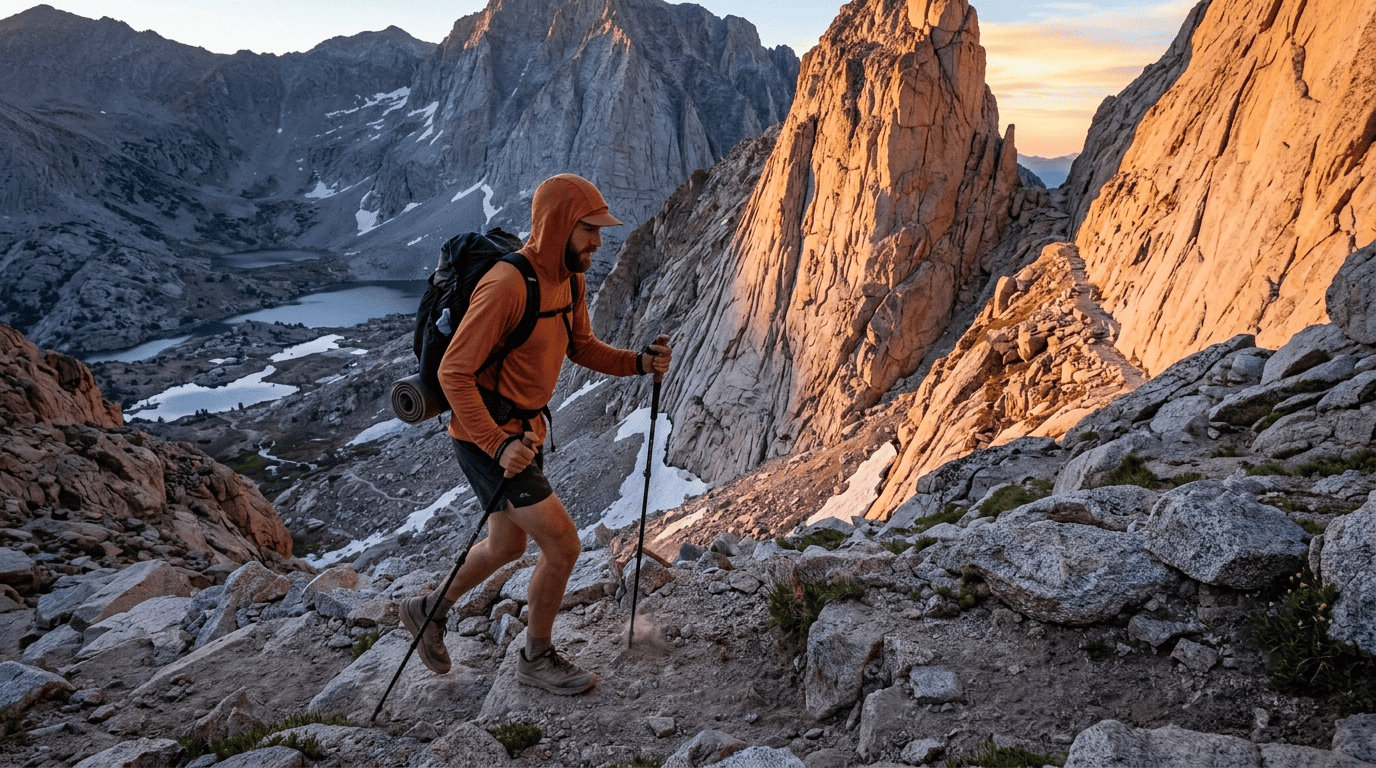
The John Muir Trail (211 mi, Yosemite to Mount Whitney) is the classic proving ground for a dialed ultralight system. The Rae Lakes Loop (about 40 mi, Kings Canyon) and Evolution Loop (Kings Canyon high country) both reward low pack weight with serious elevation gain over a shorter commitment than a full JMT thru-hike. The High Sierra Trail (about 72 mi, Sequoia to Mount Whitney) adds real remoteness on top of the elevation profile. All three require wilderness permits through Recreation.gov; plan reservations well ahead of your trip.
Ultralight backpacking routes outside the Sierra Nevada
The Lost Coast Trail (Humboldt County) trades altitude for tide-timing logistics and genuine isolation on California’s north coast. Skyline-to-Sea (Santa Cruz Mountains) offers a shorter, redwood-to-ocean route that’s a good lower-commitment test of an ultralight kit. Loop routes in the Ansel Adams Wilderness near Mono County combine granite and alpine lake terrain without the JMT’s permit competition.
If you’re still dialing in the basics before going ultralight, our hiking safety guide covers the Ten Essentials. This whole approach is built on trimming down, and honestly, rating a route’s difficulty matters even more once you’re carrying multiple days of food and fuel.
Frequently asked questions: ultralight backpacking in California
What is the lightest backpacking setup for California hiking?
A dialed superultralight kit (under 5 lb base weight) typically pairs a tarp or minimal tent, a quilt, a frameless pack, and a cook-free food strategy, though most hikers land comfortably in the 6–9 lb ultralight range with a bit more comfort margin.
What base weight is considered ultralight backpacking?
Under 10 lb, excluding food, water, and fuel; under 5 lb is generally labeled superultralight.
Do I still need a bear canister with an ultralight setup in California?
Yes, most Sierra wilderness areas legally require one regardless of your base weight goals, so factor its weight (or a rental) into your system rather than skipping it.
Is a sleeping quilt warmer than a sleeping bag for California backpacking?
Not inherently, a quilt saves weight and regulates temperature well in mild conditions, but a full mummy bag’s sealed design typically holds warmth better on genuinely cold shoulder-season nights.
What are the best ultralight backpacking trails in California?
The John Muir Trail, Rae Lakes Loop, and High Sierra Trail are the strongest Sierra options; the Lost Coast Trail and Skyline-to-Sea are the best-known choices outside the Sierra Nevada.
Can I use a tarp instead of a tent for Sierra Nevada backpacking?
Yes, for dry-forecast summer trips with low bug pressure, but switch to a full ultralight tent for shoulder-season trips or anywhere bugs or unsettled weather are likely.